This post may contain affiliate links . Read my full Disclosure Policy.


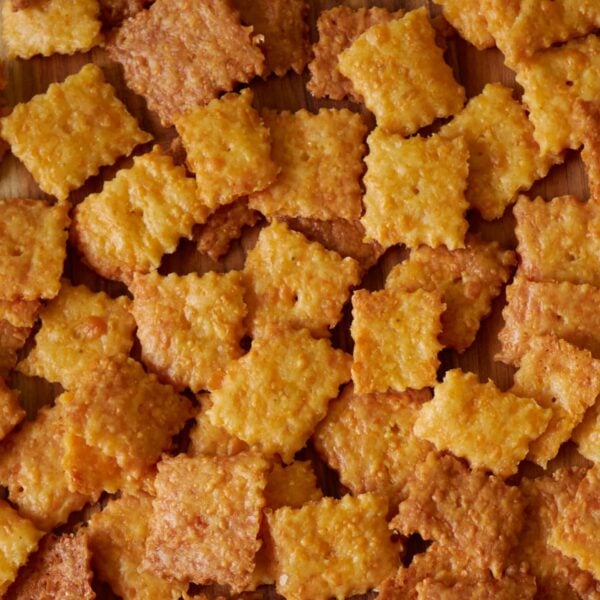
These copy cat Sourdough Cheez-it Crackers are so simple to make and have way less ingredients than the classic Cheez-its Crackers. This recipe uses sourdough discard and cheddar cheese to make a crispy cracker the whole family will love! They come together quick and easy with the help of a food processor and make a great snack for your kids!
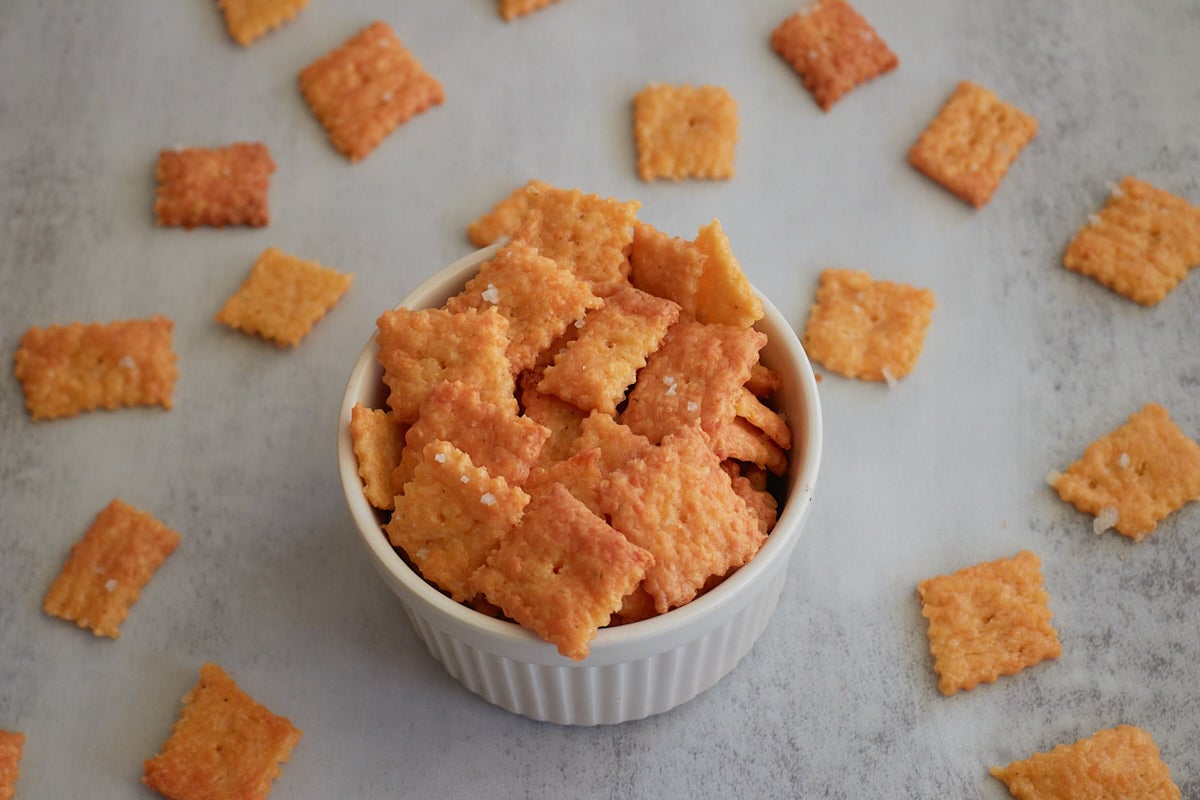
“So easy to make and the whole fam LOVES them!! They are gone within two days!!” -Kaylee
These Sourdough Cheez-Its are a great snack you can feel good about giving to your kids because they are made with wholesome ingredients and free of all preservatives. If you are looking for more homemade snack ideas, check out this Sourdough Pretzel Bites recipe, and if you love sourdough crackers, you should also try Sourdough Goldfish, Sourdough Graham Crackers, and Seeded Sourdough Discard Crackers.
Why you’ll love this recipe
- They are just like the classic Cheez-Its but with a sourdough spin and are tastier.
- They are a delicious combo of crunchy, salty, and cheesy the whole family will love.
- They are super easy to make, just throw everything in the food processor and blend.
- They are made with pantry staples you likely already have at home and use real cheddar cheese.
Ingredients for Homemade Sourdough Cheez-Its
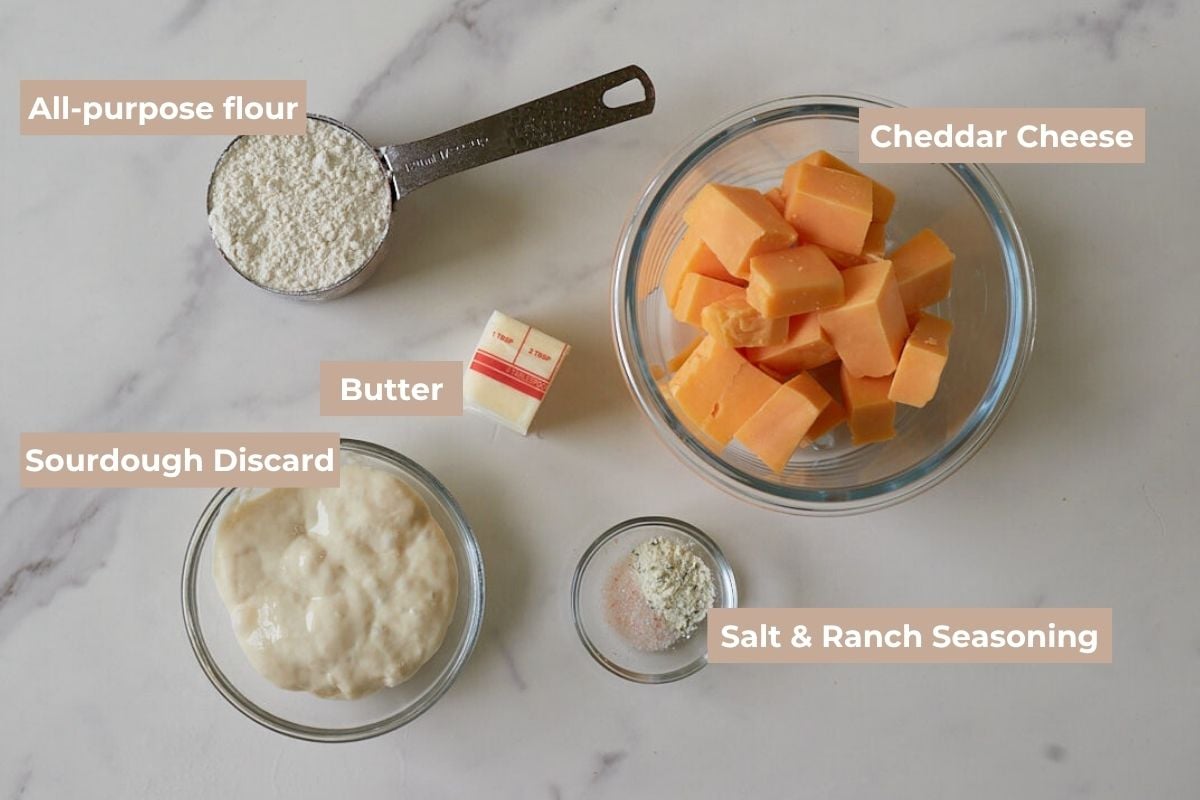
- Cheddar cheese – The cheddar cheese gives the classic Cheez-It flavor but you can swap for different cheeses like colby jack, pepper jack or mozzarella.
- Sourdough discard – You’ll want to use the discard and not a bubbly starter. The bubbly starter will make them rise more, and since we want to have a crispy cracker, the flatter the better.
- Butter – I use unsalted but you can use salted butter as well.
- Ranch seasoning – This may be unexpected, but using a little bit of ranch seasoning adds to the savory flavor of the crackers.
- Flaky sea salt- This is optional, but the flaky sea salt tastes great sprinkled on top of the cracker.
See all the ingredients and amounts in the recipe card below.
How to make the Sourdough Discard Cheez-its
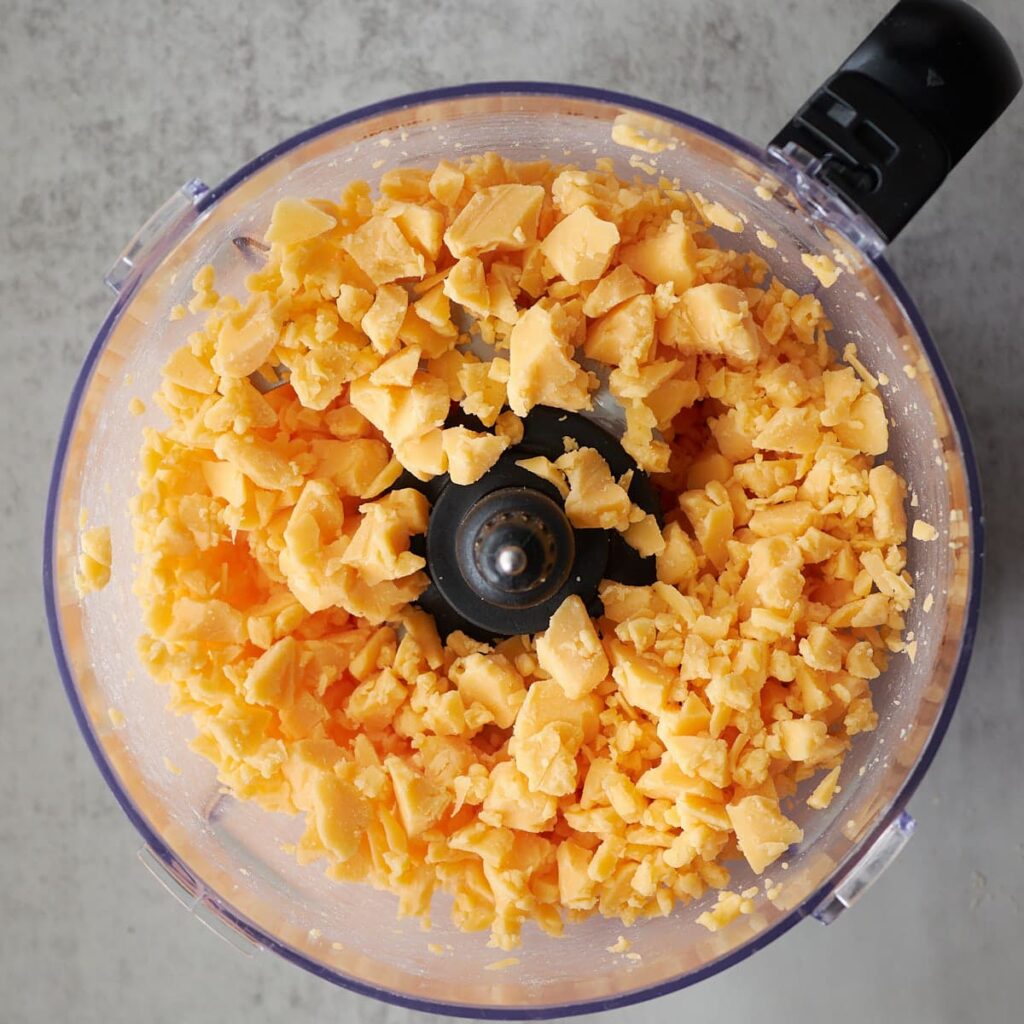
Step 1: Cube the cheese and add it to a food processor or blender with the dough attachment and blend until broken into small pieces.
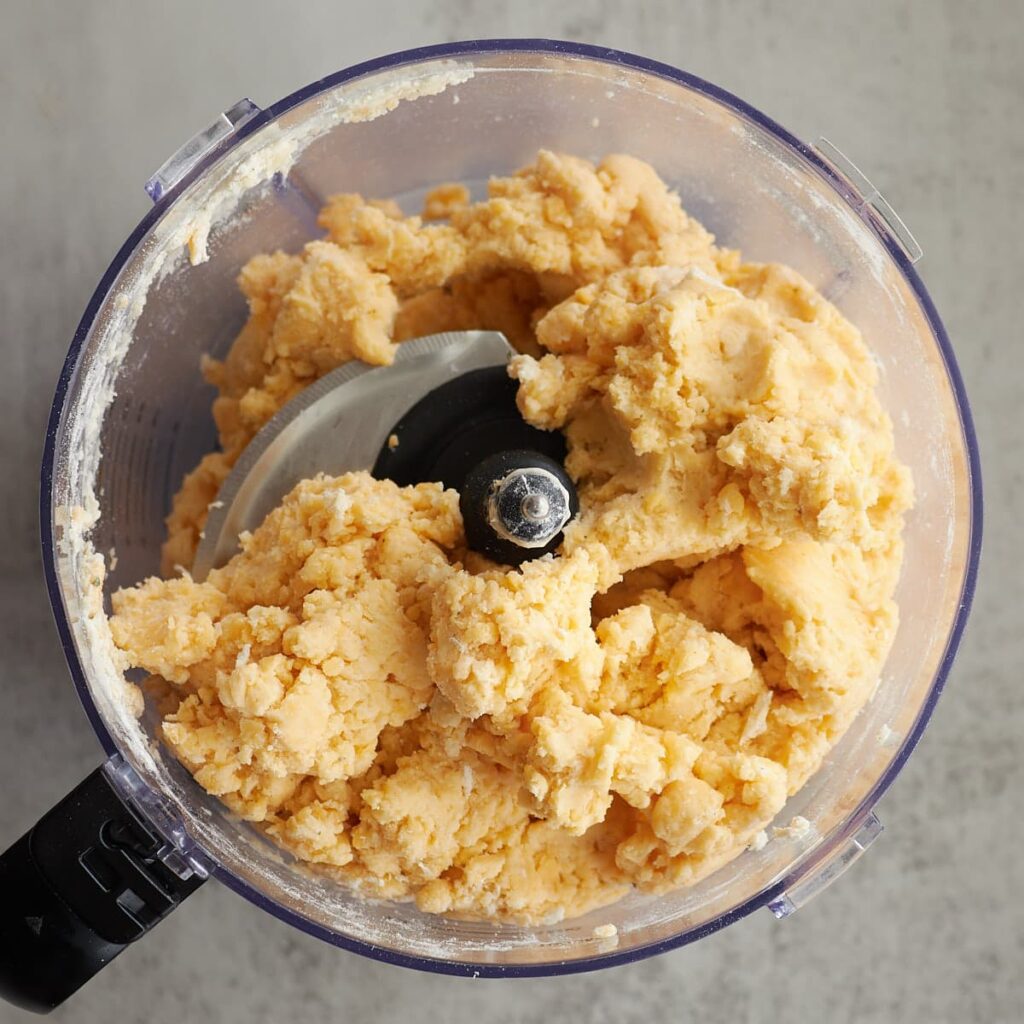
Step 2: Add the remaining ingredients (besides the flaky sea salt) to a food processor and blend until fully combined, about 40-50 seconds. Depending on the amount of moisture, the dough may be crumbly but when pressed together should stay together. If not add a teaspoon or so of water to the dough until it can be pressed together.
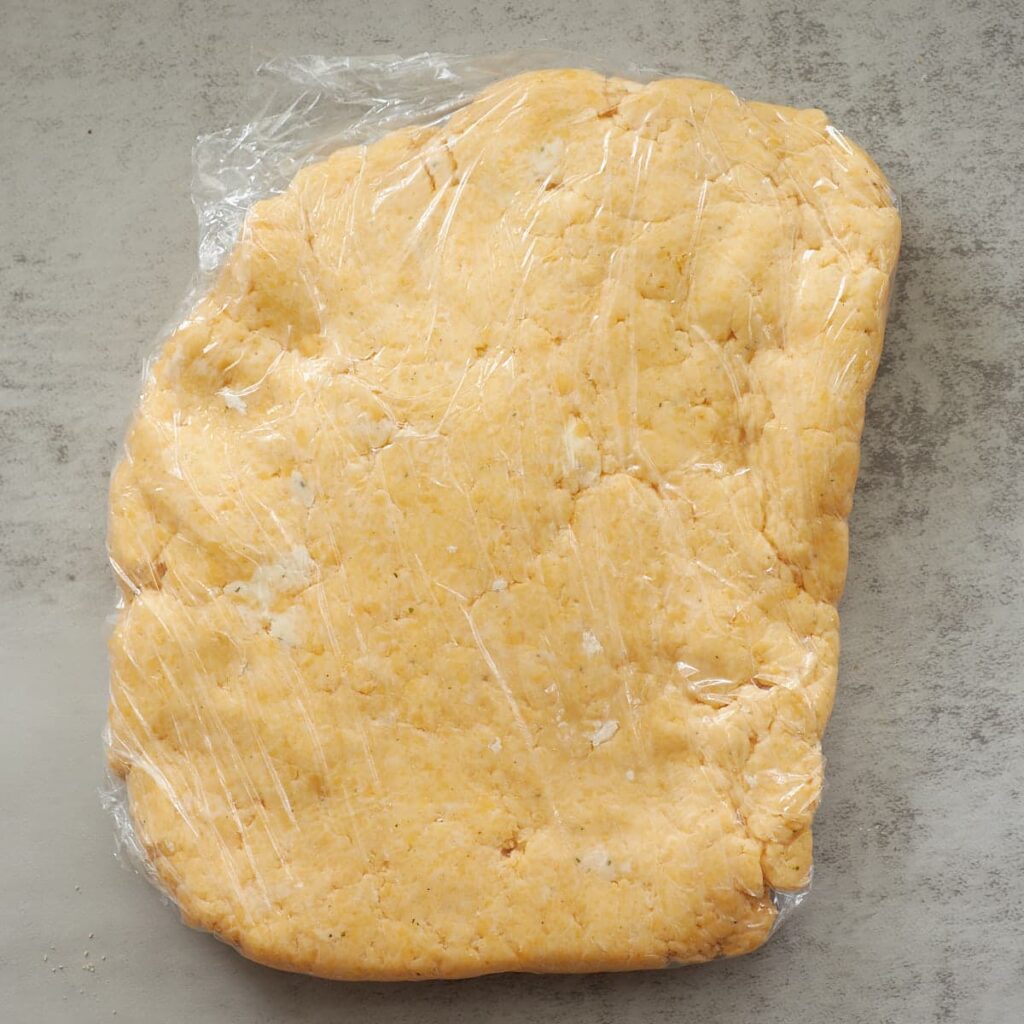
Step 3: Next, take the ball of dough and place it onto plastic wrap. Add to the fridge for at least 20 minutes to chill the dough. It can always stay in the fridge for a day or two if needed.
Step 4: Right before you roll out the dough, preheat your oven to 350°F.
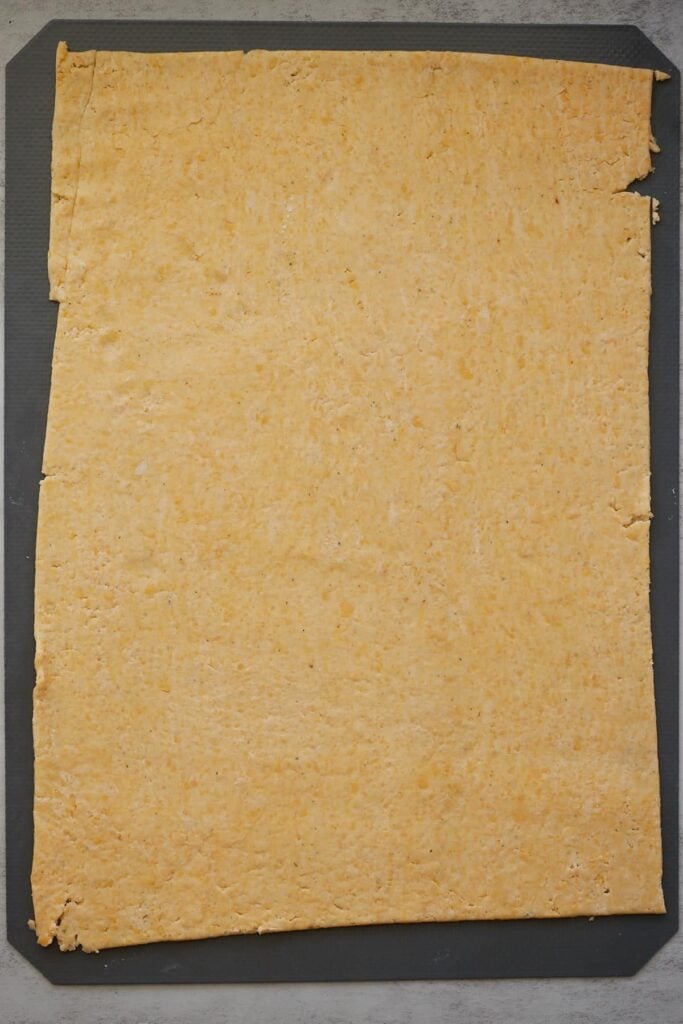
Remove the dough from the fridge and divide the dough in half. Using a rolling pin, roll out the dough into a rectangle on a silicone baking mat, my preferred method for easier rolling, or on parchment paper. You want to roll the dough out as thin as possible, about ⅛ of an inch thick. The thinner you roll out your dough, the crispier the cracker will be.
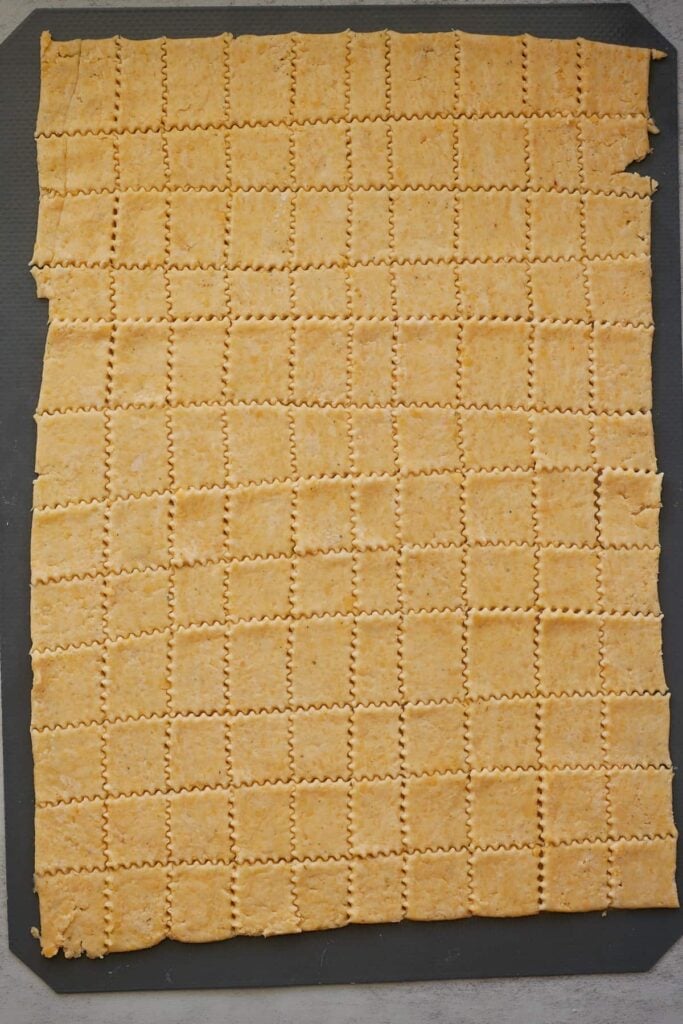
Step 5: Cut the crackers into small squares, about an 1″ wide, with a bench scraper or a pasta cutter.
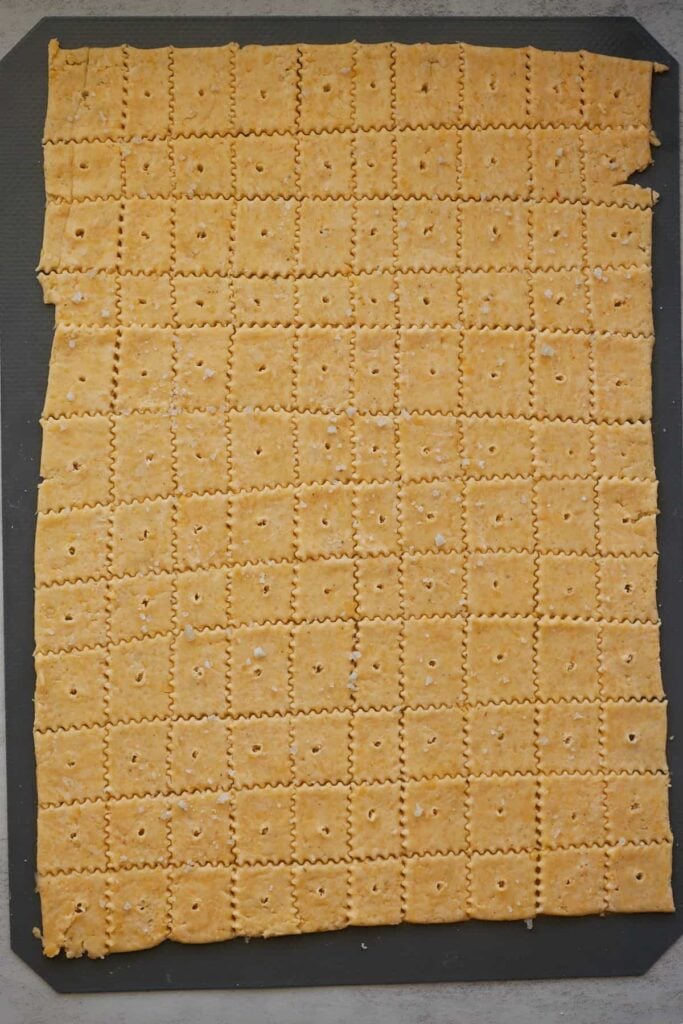
Step 6: Poke a hole in the middle of each cracker with a toothpick to help the dough from puffing up while baking. Then if you want, sprinkle flaky sea salt over the crackers. The sea salt is optional, but it tastes delicious on the cracker!
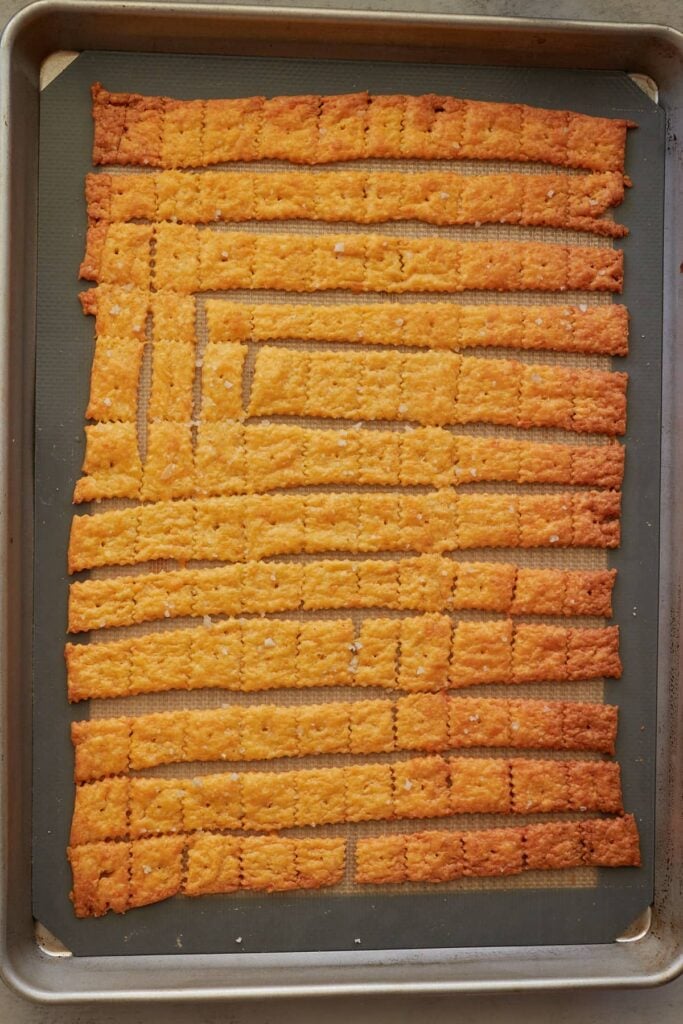
Step 7: Keep the crackers as is, they do not need to be separated before baking. Place the baking mat on a baking sheet and bake for about 15-18 minutes or until lightly browned and crispy. Timing will depend on how thin your crackers are.
Repeat this with the other half of the dough.
Recipe Tips
- If the dough is sticky after mixing it in the food processor add a little extra flour. You should be able to touch the dough without it sticking to you.
- Roll the dough out as thin as you can. The thinner the cracker the crispier they will be. I’m always surprised how thin these can roll out.
- Refrigerate the dough for 20 minutes before rolling it out. Slightly cooled off dough is easier to roll out. However, if you keep the crackers in the fridge for several hours, the dough will be harder to roll. In that case, I recommend letting the dough warm up on the counter for 10-15 minutes before rolling it.
- The dough should not be sticky. If it is sticky after coming out of the food processor mix in a little extra flour.
- After the cheez-its bake let them sit in the oven with the door slightly ajar. This will allow them more time to dry out resulting in a crispier cracker.
Storage Instructions for Sourdough Cheez Its
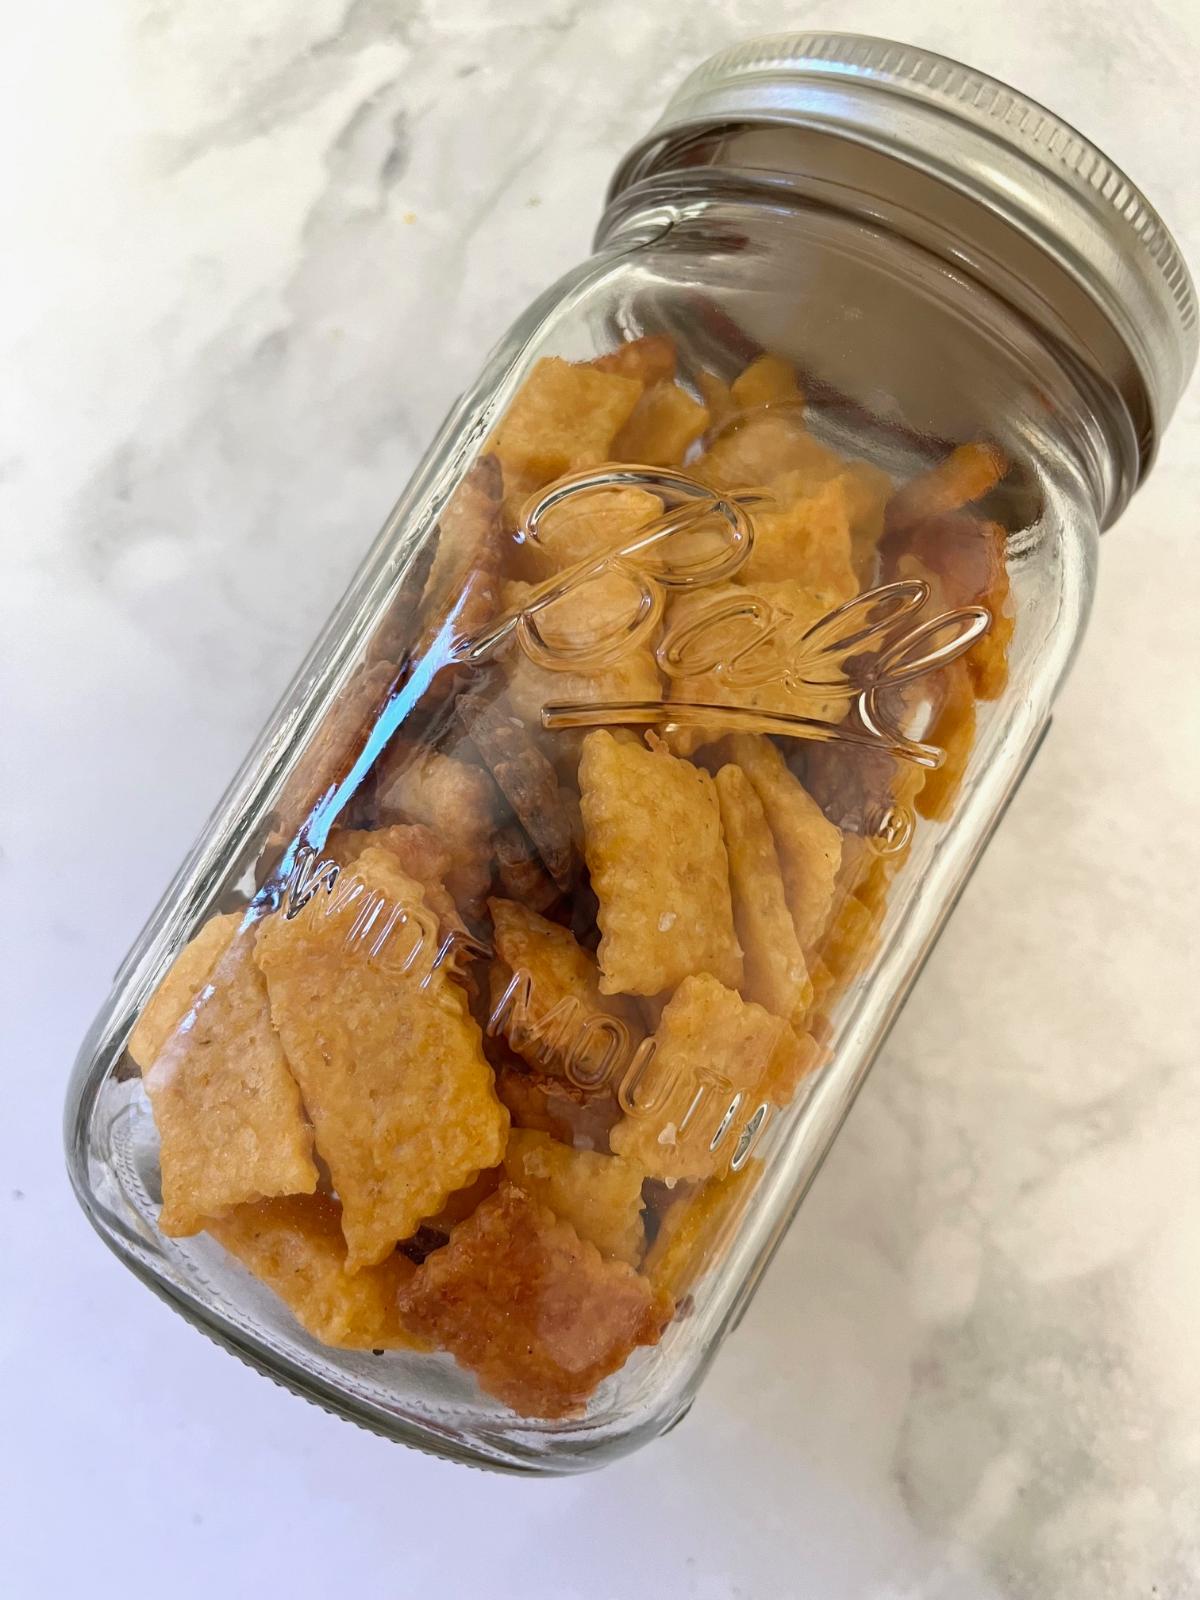
Store the Sourdough Cheez-Its in an airtight container and keep them on your counter or in a kitchen cabinet. I love to use a glass mason jar with a lid to store the crackers in and find that is the best way to keep them crispy. They will stay fresh for a couple weeks, but they never last that long in my house! Be sure to let the crackers cool completely before storing.
Recipe FAQ
Sourdough discard is a sourdough starter that has gone past its peak and has fallen back down. After this point, the starter can no longer leaven dough, but it makes the perfect addition to sourdough discard recipes! You can learn more about sourdough discard here. Or, if you want to learn how to make a sourdough starter from scratch, you can follow this Easy Sourdough Starter recipe using just flour and water!
I recommend using flat discard that no longer has any bubbles in it. If you use active starter, the crackers will likely puff up and will not as crispy.
To make this recipe taste like the original Cheez-It, you’ll want to use cheddar cheese. Medium cheddar or sharp cheddar cheese works great! If you want to switch it up, you could use any type of hard cheese for this recipe. It’s important to use hard cheese for this cracker recipe so that they hold their shape and get crispy. Soft cheeses like Brie will not work well.
You can recreate other flavors of Cheez-Its, such as Cheddar Jack, Pepper Jack, and White Cheddar, by simply swapping out the regular cheddar in this recipe for a different type of cheese. Feel free to get creative and try different types of hard cheeses or combinations!
Yes, you can use a pasta roller to roll out the dough if you prefer, just be sure the dough is well floured before running it through.
Yes I find if you store the crackers in a glass airtight container that they will stay crispy for weeks.

More sourdough sNACKS

Fall Sourdough Recipes
Sourdough Apple Fritter Bread

Fall Sourdough Recipes
Sourdough Pumpkin Mini Muffins

Fall Sourdough Recipes
Sourdough Apple Muffins with Cinnamon Streusel
Sourdough Snack Recipes
15+ Sourdough Snacks(with starter and discard)
Tried this Sourdough Cheez-It Crackers or another recipe from the site? I’d love to hear about it! Drop a star rating and share your thoughts in the comments—can’t wait to see what you’re baking!
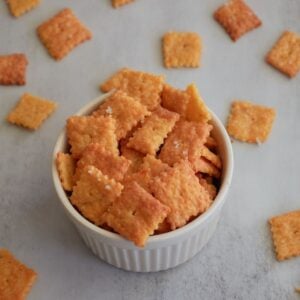
Sourdough Cheez-It Crackers
Ingredients
- 226 grams cheddar cheese, chopped (8oz block), 2 cups
- 85 grams flat sourdough discard, heaping ⅓ cup
- 28 grams unsalted butter, chopped, 2 Tablespoons
- 5 grams ranch seasoning, ½ Tablespoon
- 5 grams salt, 1 teaspoon
- 65 grams all purpose flour, ½ cup
- Flaky sea salt, optional for the top of cracker
Instructions
- Blend all ingredients in a food processor, except for the flaky sea salt. If you prefer a less salty cracker, cut the salt amount in half.226 grams cheddar cheese, chopped (8oz block), 85 grams flat sourdough discard, 28 grams unsalted butter, chopped, 5 grams ranch seasoning, 5 grams salt, 65 grams all purpose flour
- Place dough onto plastic wrap and place in the fridge for at least 20 minutes.
- Preheat the oven to 350F.
- Remove the dough from the fridge and split it in half. Roll out half the dough as thin as possible, ⅛”. I prefer to roll out on a silicone baking mat but you can also use parchment paper. The thinner the better for a crispier cracker.
- Cut the crackers in 1" squares with a bench scraper or a pasta cutter.
- Poke a hole in the middle of each cracker with a toothpick.
- Sprinkle the crackers with flaky sea salt.
- Do not separate the crackers. Place the parchment paper on a baking sheet and bake for 15-18 minutes.
- Repeat with the other half of the dough. If you bake the 2 trays together rotate the trays halfway through.
- After the cheez-its bake let them sit in the turned off oven with the door slightly ajar. This will allow them more time to dry out resulting in a crispier cracker.
Notes
- The thinner the better on this dough, thinner dough will yield a crisper cracker.
- If the dough is sticky after mixing it in the food processor add a little extra flour. You should be able to touch the dough without it sticking to you.
- Refrigerate the dough for 20 minutes before rolling it out. Slightly cooled off dough is easier to roll out. However, if you keep the crackers in the fridge for several hours, the dough will be harder to roll. In that case, I recommend letting the dough warm up on the counter for 10-15 minutes before rolling it.
- This recipe can easily be doubled or tripled.
- Once completely cooled store in an airtight container. A glass mason jar is my preferred container.
- This recipe will make about 125 crackers
Nutrition
Nutrition information is automatically calculated, so should only be used as an approximation.
Now available for pre-order
Same Day Sourdough Cookbook
Your go-to cookbook for baking sourdough bread, focaccia, rolls, cookies, and more—all in one day.

The flavor is phenomenal! I’ve made them twice and don’t think I’m getting them thin enough. Will try again! So tasty though!
So glad you like them! If you have a pasta roller by chance you can roll them through that to get the dough really thin.
I made these, but they came out super chewy and not crispy at all. I even cooked them for an additional 10 minutes. Do you have any suggestions? The flavor was excellent just super chewy.
Hi Bailey sorry I missed this. A couple tips:
1. Make sure the dough is rolled out as thin as possible.
2. If they are a little thicker bake them a little longer to make sure the moisture is baked out.
3. After baking, keep the crackers in the turned off oven with door ajar. This will help dry out the crackers.
Super easy and delicious. I roll mine with a pasta attachment for my Kitchen-aid, works great. I flatten and place in the fridge, just long enough for me to get my pans and attachment set up. I do dust with a small amount of flour to keep it from sticking to the machine, roll to “4”. I then score, hole, and bake (rotating half way through). I prefer to bake them on parchment, it helps with the grease from the cheese. I wish I post a pic, they turn out great!
Thanks Andi! I’ve been using the pasta roller lately too and it’s been great.
Can’t wait to try these! I am curious since I am new to sourdough baking if you are able to ferment these like you would a bread or would that not make a difference?
Thank you so much for all your information!
Hi Mary! You can let the dough ferment in the fridge for a longer period of time like 24-48 hours before baking.
Can you tell I’ve been on several of your pages?! Haha! My last review was supposed to be for the blueberry muffins.
These crackers are awesome too! I don’t forsee them lasting long in our house!
Thanks Kait! They don’t last long at my house either.