This post may contain affiliate links . Read my full Disclosure Policy.

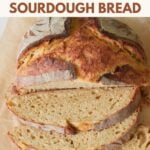
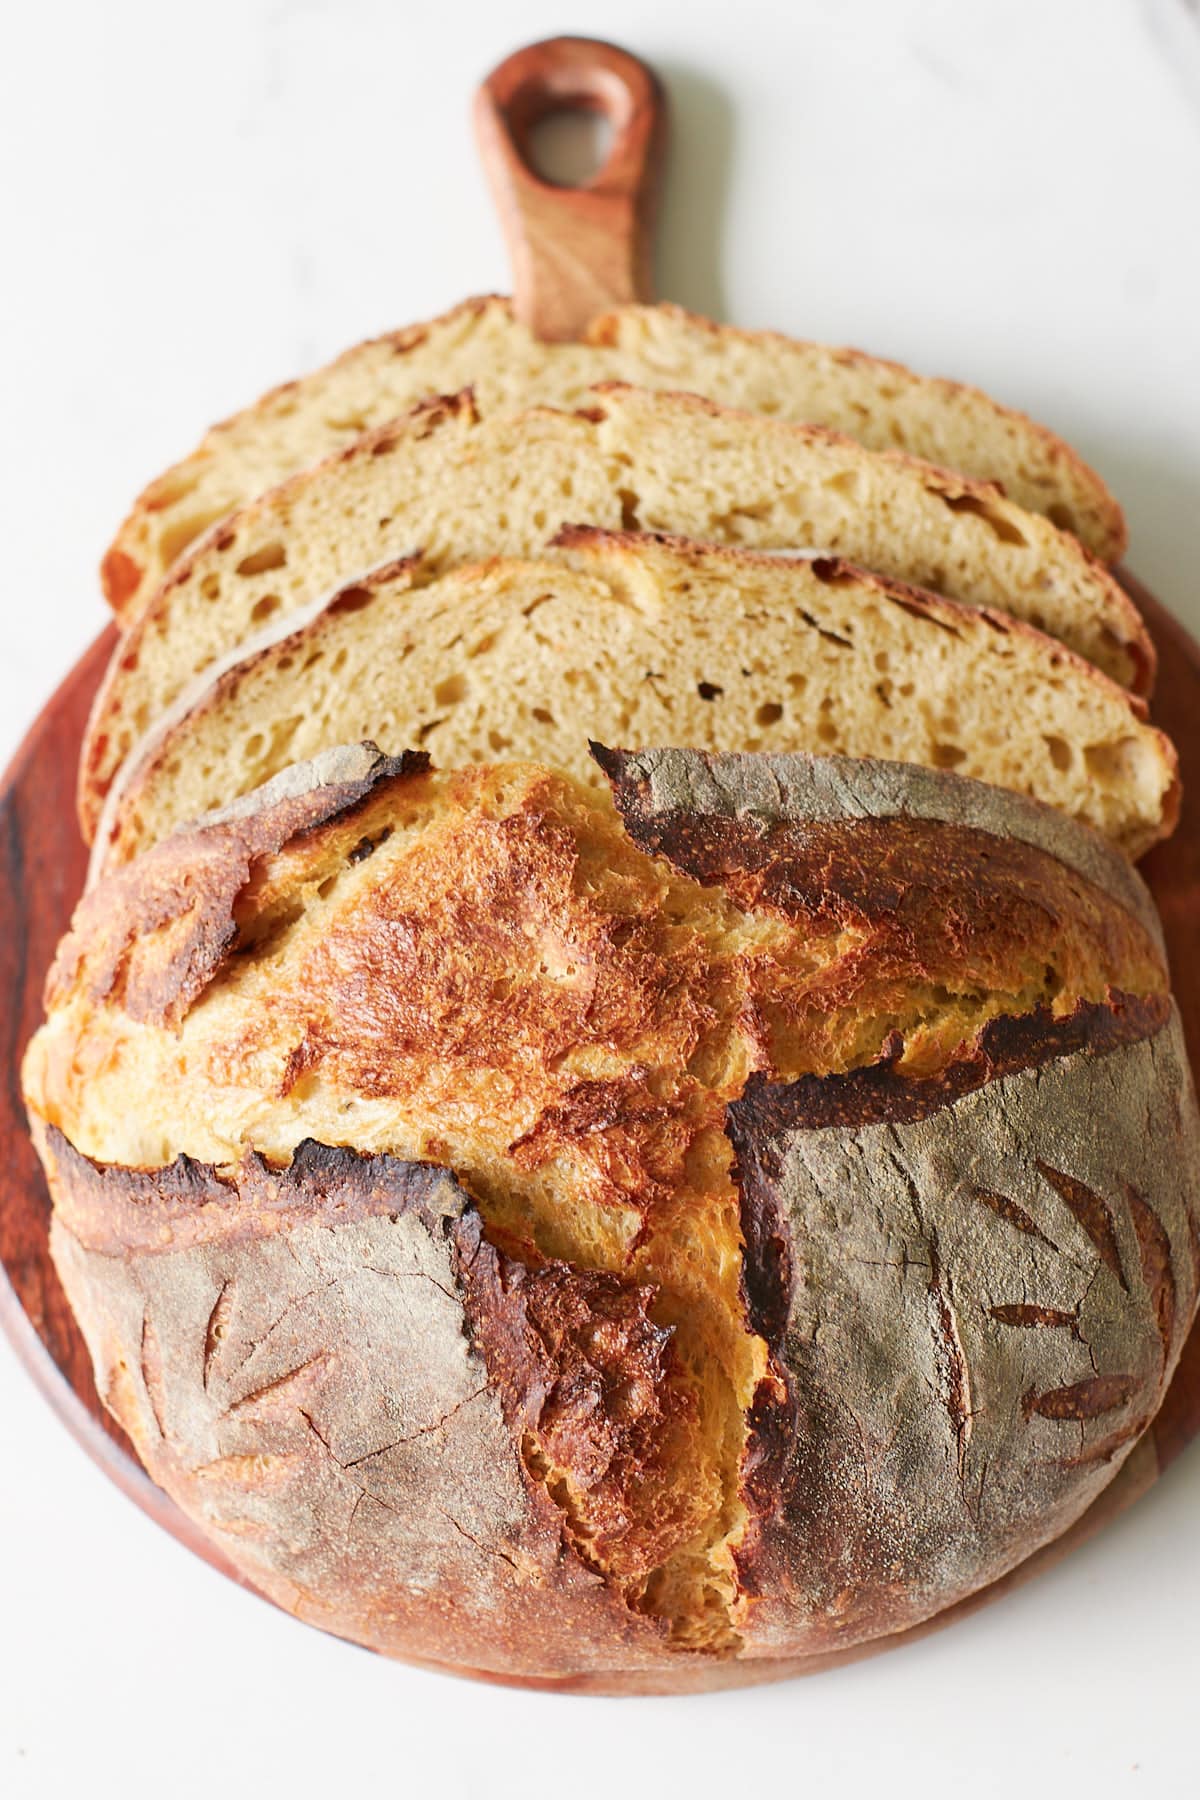
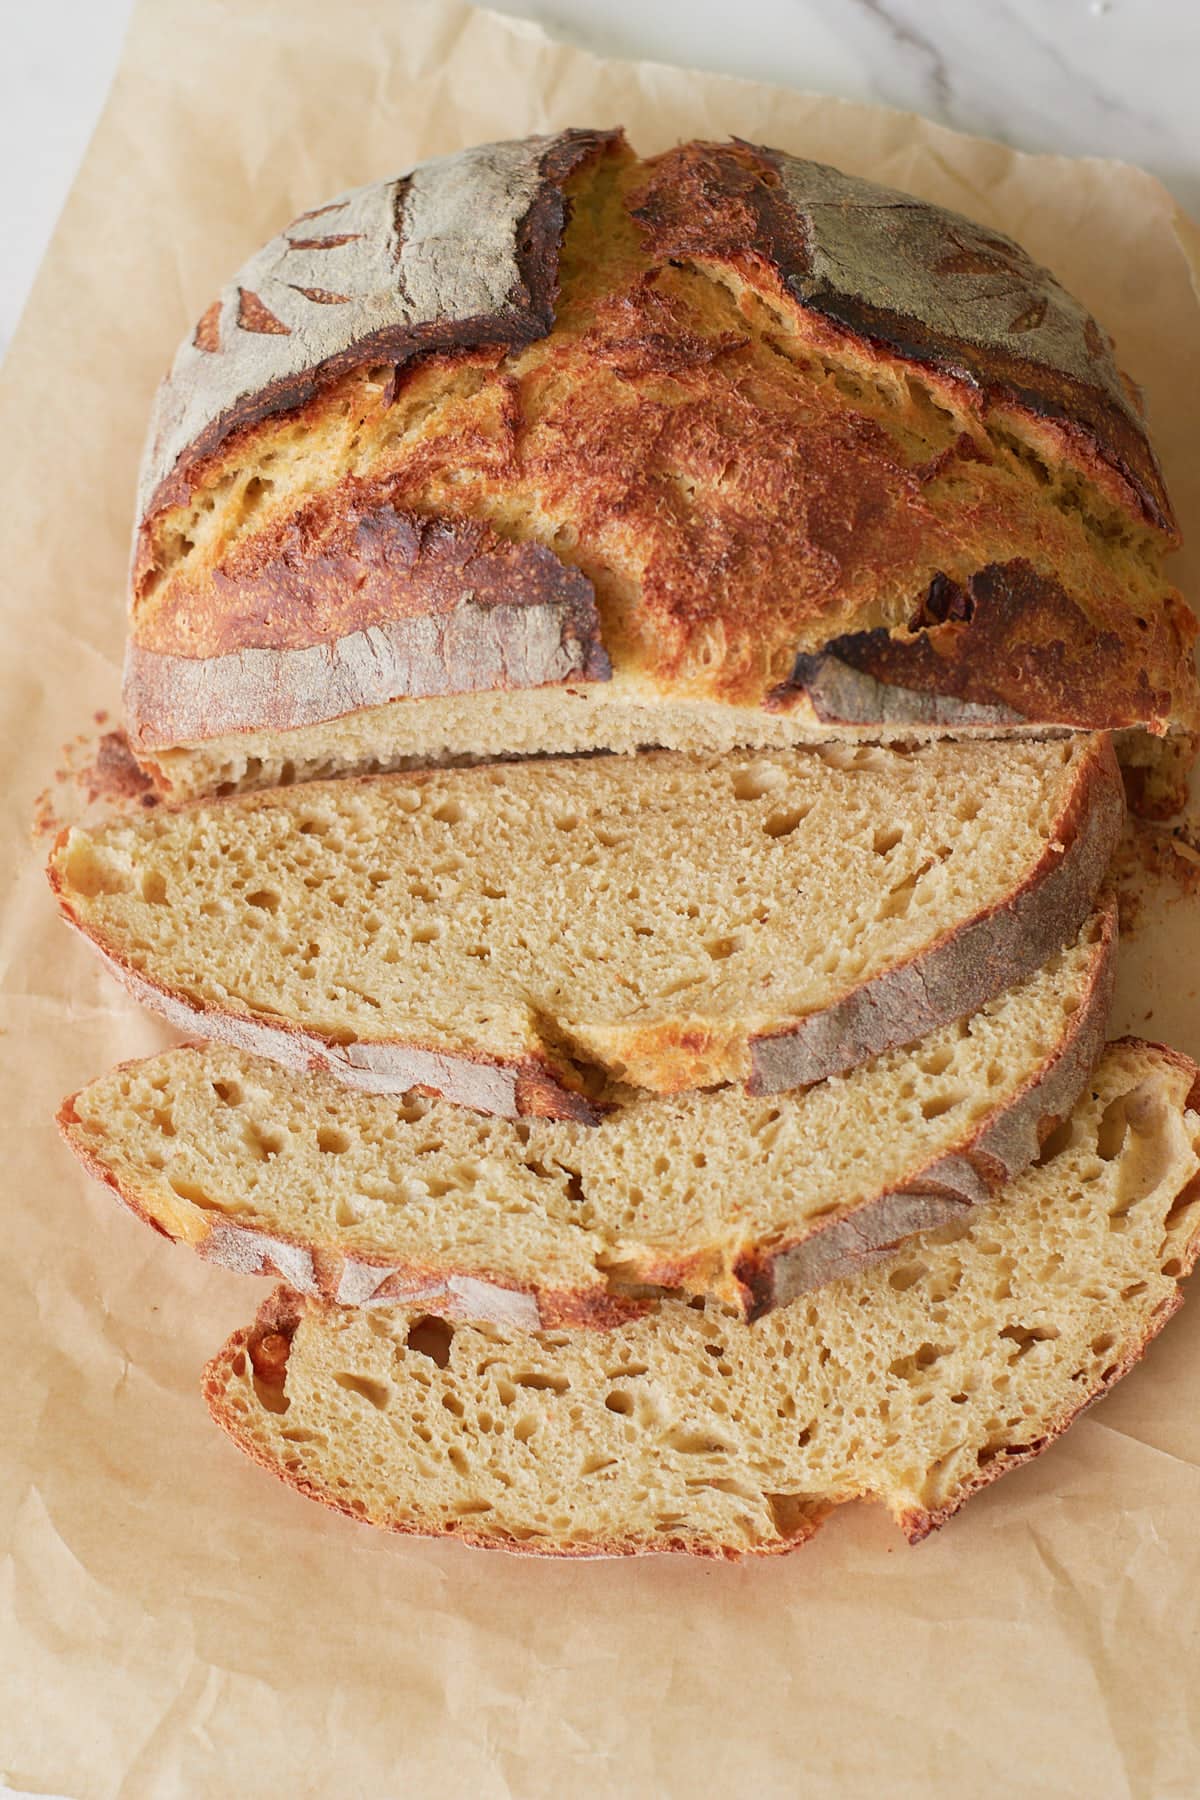
This Einkorn Sourdough Bread has a crisp, golden crust and a soft interior that can be made in just one day. With its rich, nutty flavor and higher nutritional value, it’s a wholesome upgrade to your everyday loaf.
This post is sponsored by Grand Teton Ancient Grains but as always, all thoughts and opinions are my own.
Save & Summarize
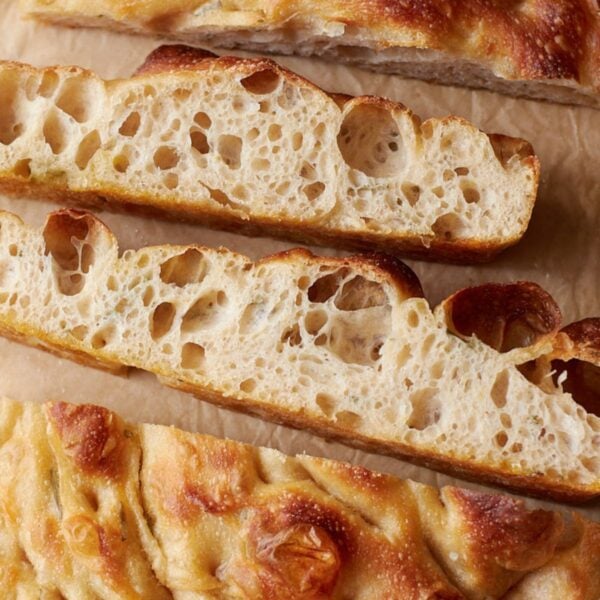
While 100% einkorn bread has a delicious, nutty flavor, it often bakes up denser and heavier than typical sourdough loaves. To lighten the texture and create that soft, airy crumb we all love, I added a bit of bread flour to the mix—it makes a difference in texture without compromising the rich flavor of the einkorn.
If you like to make sourdough bread with different types of flour, be sure to also check out my Whole Wheat Sourdough Bread recipe.
Table of Contents
- Why you will love this recipe
- What is einkorn flour?
- All-purpose einkorn versus whole grain einkorn
- How einkorn compares to bread flour
- Where to get einkorn flour
- Important Ingredients and Substitutions
- Instructions to make Einkorn Sourdough Bread
- Recipe Tips
- Storage Instructions
- Sample baking schedule
- Recipe FAQ
- More sourdough Bread Recipes
- Einkorn Sourdough Bread Recipe
Why you will love this recipe
- This Einkorn Sourdough Bread has the perfect ratio of einkorn flour and bread flour for a soft and fluffy bread.
- Einkorn is a nutritious flour with higher vitamins and minerals. Many people love this flour because it has not been highly processed.
- This recipe is based on my Same Day Sourdough Bread recipe. It has a quick timeline and can be made in just one day, or you can let it ferment overnight and bake the next day. The timeline is flexible, so you can make it work on your schedule.
What is einkorn flour?
Einkorn is an ancient grain and is known as the original wheat. It has not been hybridized like modern wheat and is less processed. Einkorn wheat is also known for its easier digestion. It’s rich in protein, vitamins, and minerals, and contains a simpler form of gluten that even people with gluten sensitivities find easier to digest. It has a golden color and slightly nutty flavor that adds richness to baked goods and breads.
All-purpose einkorn versus whole grain einkorn
Let’s talk flour—specifically, all-purpose einkorn vs. whole grain einkorn. I’ve tested both in this recipe, and the good news is: they both work great. But there are a few key differences that might help you decide which one to use.
All-purpose einkorn flour
All-purpose einkorn flour is sifted to make it lighter and easier to bake with but in that process it loses some of the nutrients. However if you get it from Grand Teton Ancient Grains they intentionally leave in more of the fiber, protein, and micronutrients it is better than traditional white flours or other all-purpose einkorn flours.
Whole grain einkorn flour
Whole grain einkorn flour has all parts of the grain, including the bran, germ, and endosperm—so you’re getting more fiber and vitamins. This will produce a slightly denser crumb but is more flavorful.
How einkorn compares to bread flour
Bread flour is made out of hard red wheat but has been refined, which means the bran and germ of the grain have been removed. This creates a flour with a high gluten content that helps yield an airy and chewy bread. Einkorn, on the other hand, is a whole grain and contains all parts of the grain. This gives the flour more nutrients. However the lower gluten content the bread bakes up denser and flatter. For this recipe, I used a mix of einkorn and bread flour for a soft and fluffy texture with the added nutrients.
Where to get einkorn flour
For the best high-quality whole grain einkorn flour, I recommend getting it from Grand Teton Ancient Grains (use code Countryroadssourdough for 10% off your first order). They are a family-owned company from Idaho with regenerative and organic practices growing and milling ancient grains like einkorn, spelt, and rye. They use a low-temperature, stone milling process that retains more of the nutrients. They are my go-to brand when it comes to baking with whole grain flours.
Important Ingredients and Substitutions
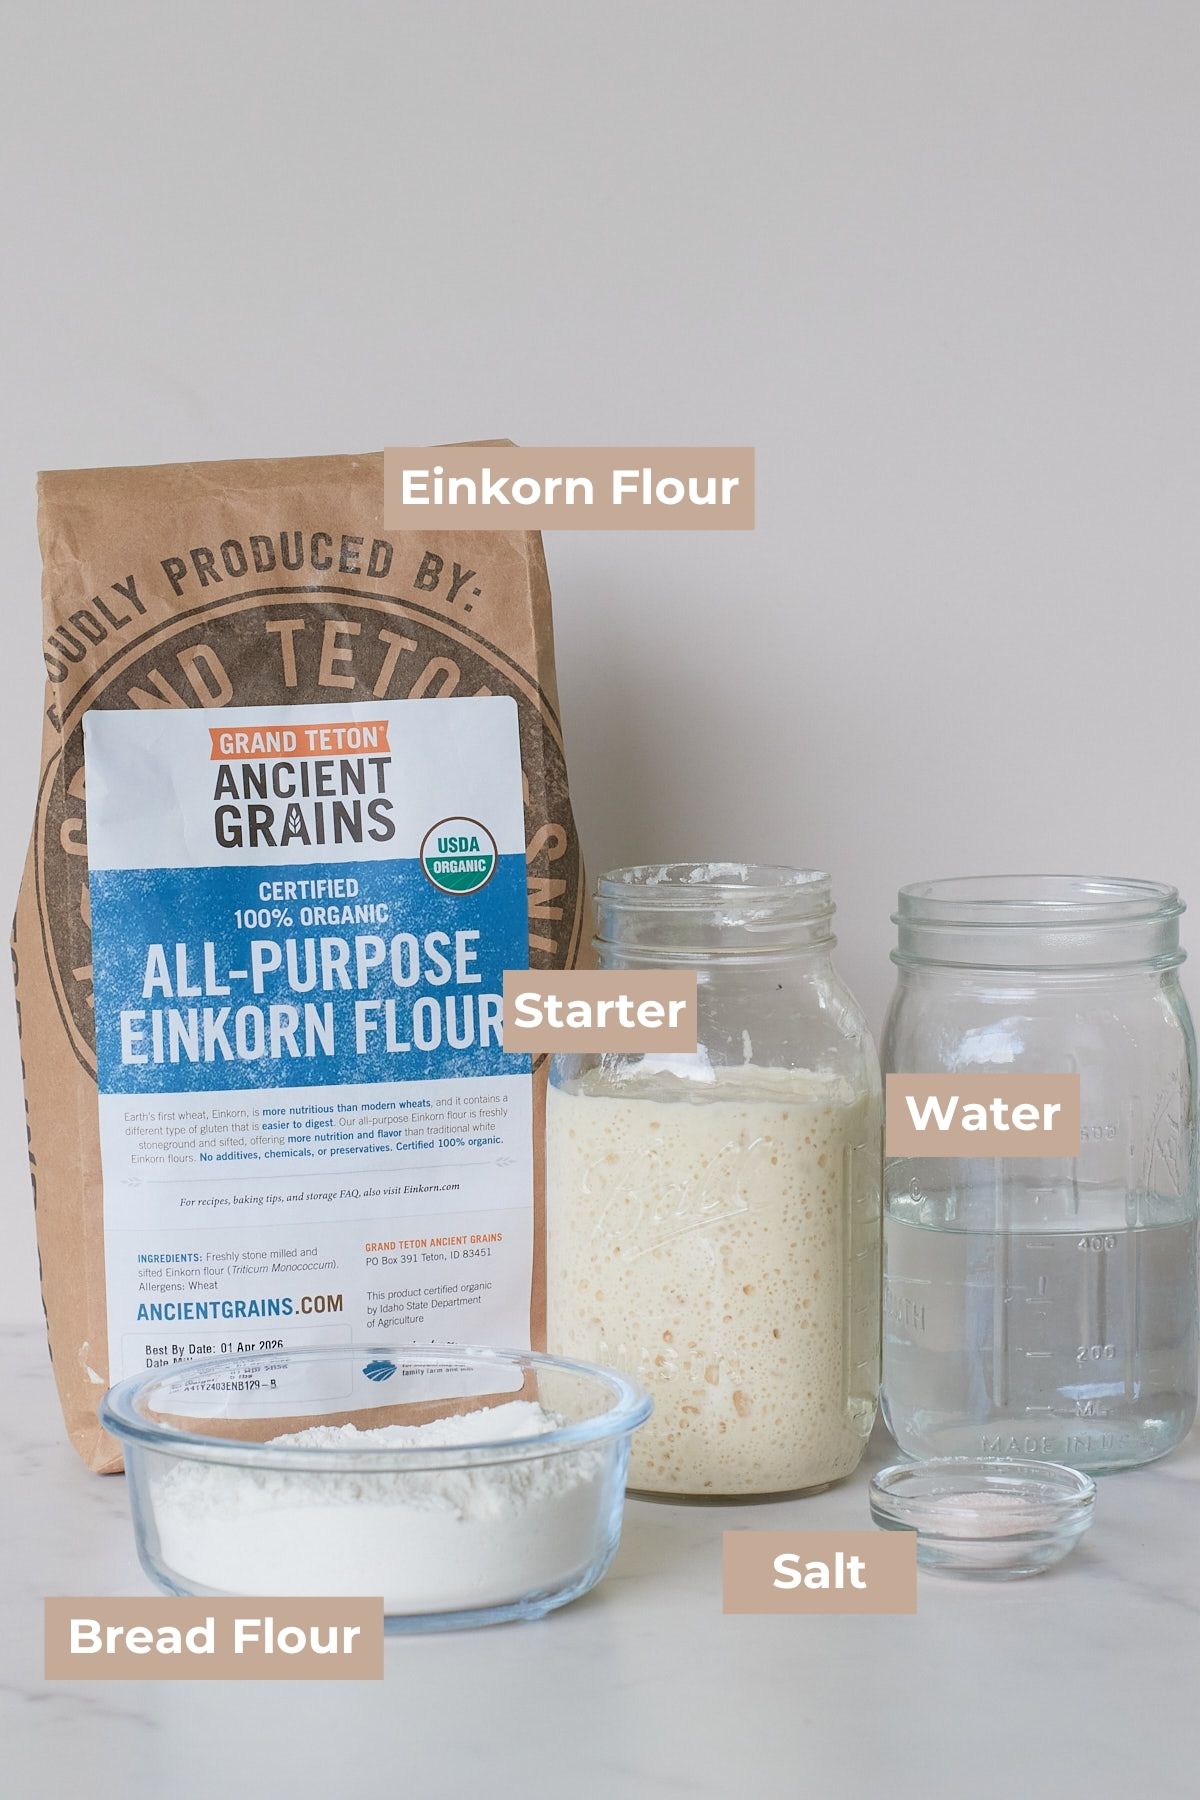
- Sourdough Starter – Use an active sourdough starter that has recently been fed, is bubbly, and has doubled in size. Learn more about feeding and caring for your sourdough starter here.
- Einkorn flour – For this recipe, I have used all-purpose Einkorn flour as well as whole grain Einkorn flour from Grand Teton Ancient Grains. Both work well but I prefer the whole grain as it has more nutrients.
- Bread flour – To make the loaf soft and fluffy, I used a mixture of einkorn and bread flour. I only used a little bread flour, but it makes a big difference in the texture of the crumb.
See all the ingredients and amounts in the recipe card below.
Shop all my favorites in one place
Check out all my favorite sourdough tools and exclusive discount codes just for you!
Instructions to make Einkorn Sourdough Bread
Step 0: Feed sourdough starter
The first step to making bread is to feed your sourdough starter. The temperature of your house, activity level of your starter, and how much you feed the starter will all impact how quickly your starter rises. A 1:1:1 ratio meaning 1 part starter: 1 part flour: 1 part water will rise in about 4 hours. Whereas a 1:5:5 ratio meaning 1 part starter: 5 part flour: 5 part water will rise in about 12 hours. Feed based on the timing you want to make bread. Once the starter doubles or exceeds its size and becomes bubbly, it is ready for use. If you can’t use the starter while it is at peak place it in the fridge until you are ready.
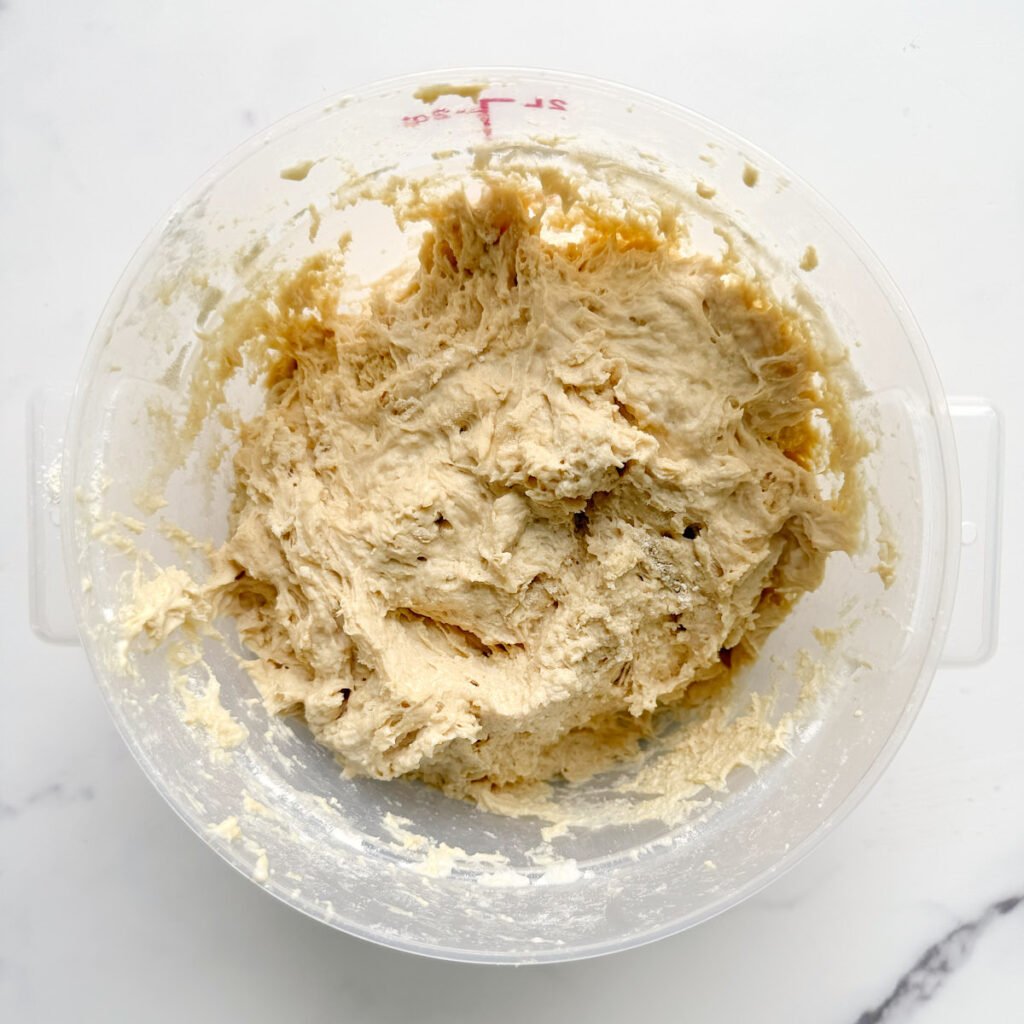
Step 1: Mix ingredients
With a danish dough whisk (10% off with link) hands, or large spoon mix together active starter, water, and salt in a container with straight sides or a large mixing bowl. Add the einkorn flour and bread flour and mix until the dough is shaggy and the flour is incorporated. The dough will be sticky. Cover with a lid or dinner plate so the dough doesn’t dry out and let sit for 30 minutes in a a warm spot. For a similar timeline as listed below keep the dough temperature at 75 degrees Fahrenheit.
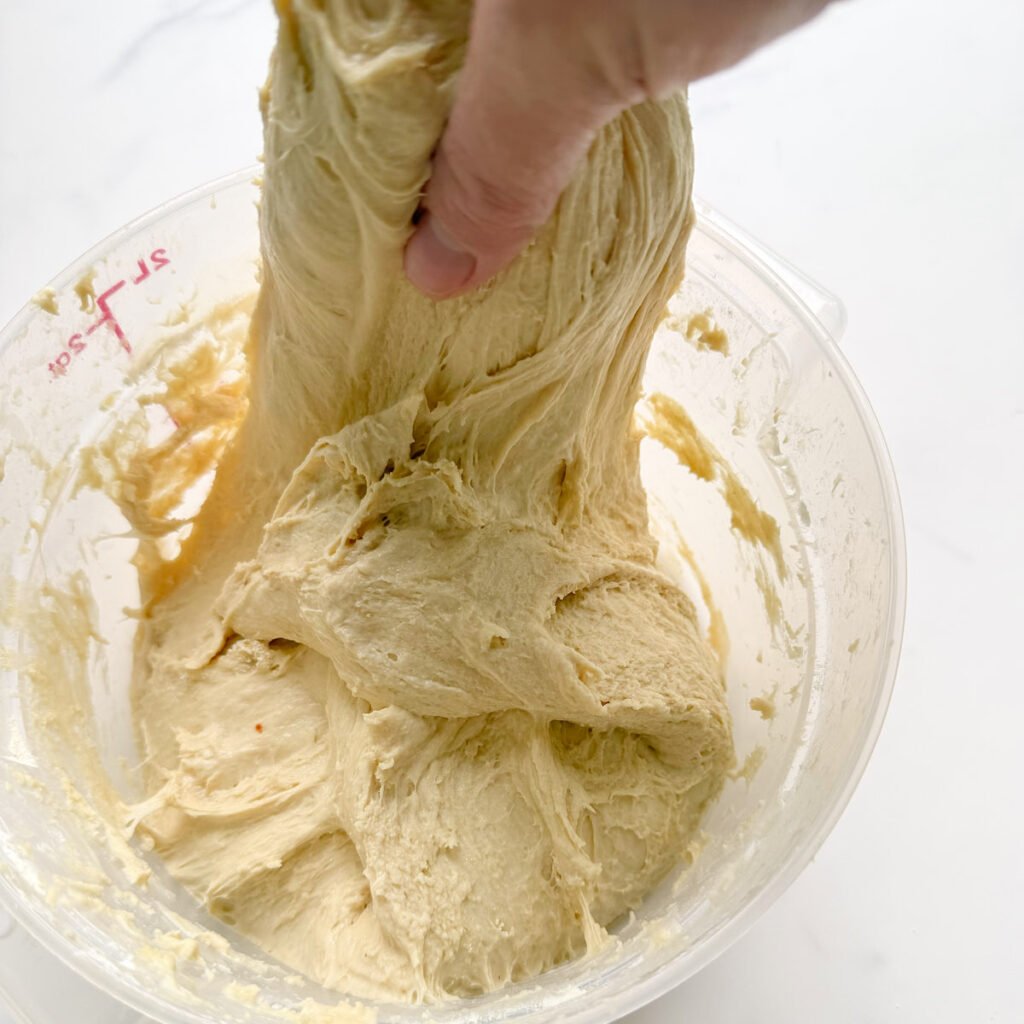

Step 2: Stretch and folds
Perform two sets of stretch and folds or with 30 minutes between each set. To stretch and fold, grab one side of the dough with a damp hand and gently shimmy the dough up, and then fold it on itself. Repeat this 3 more times rotating the bowl 90 degrees each time.
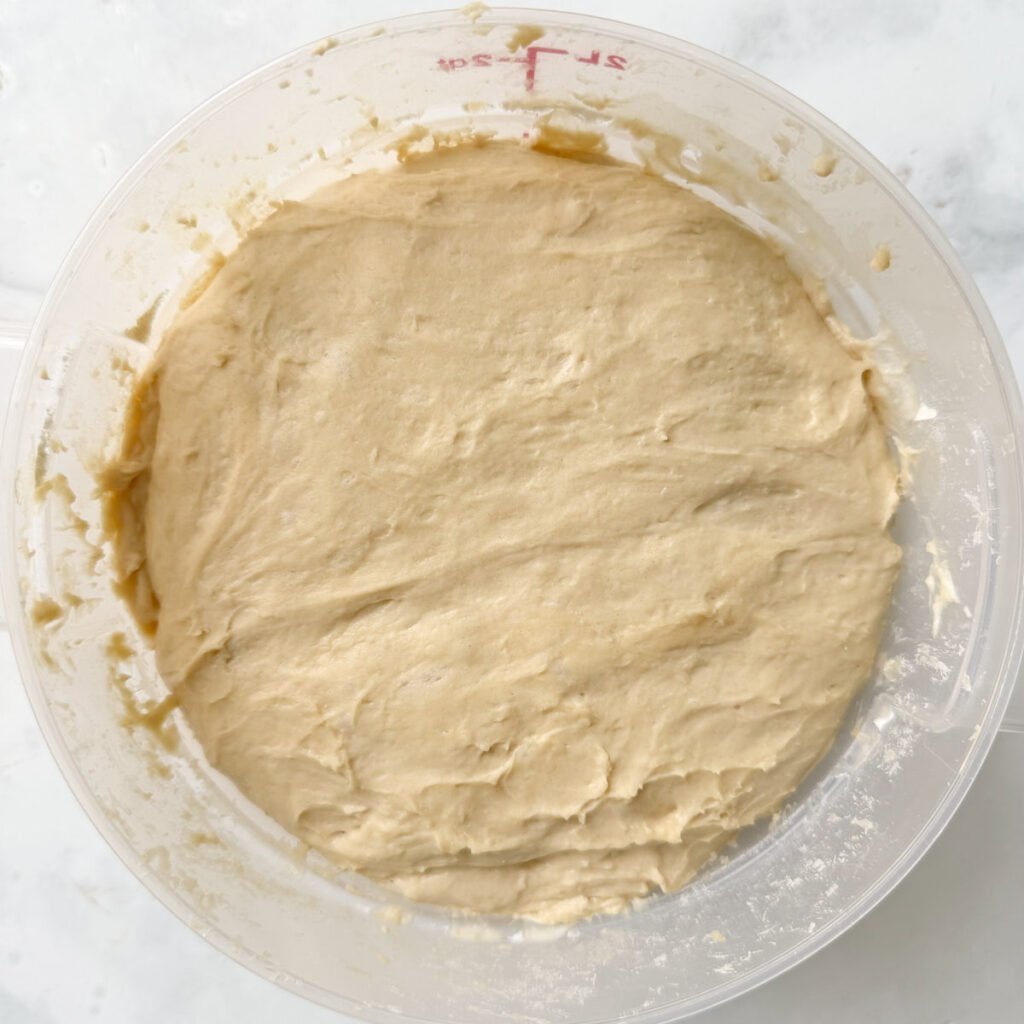
Step 3: First rise
Let the dough rest on the counter in a warm spot to finish bulk fermentation. Bulk fermentation is done when the dough is domed on top, bubbly on the sides, and risen 40-50%. If it does not show these signs, continue to let the dough rise, to finish bulk fermentation. At a dough temperature of 75 degrees Fahrenheit, my dough is ready in 4 hours from the time it is mixed.
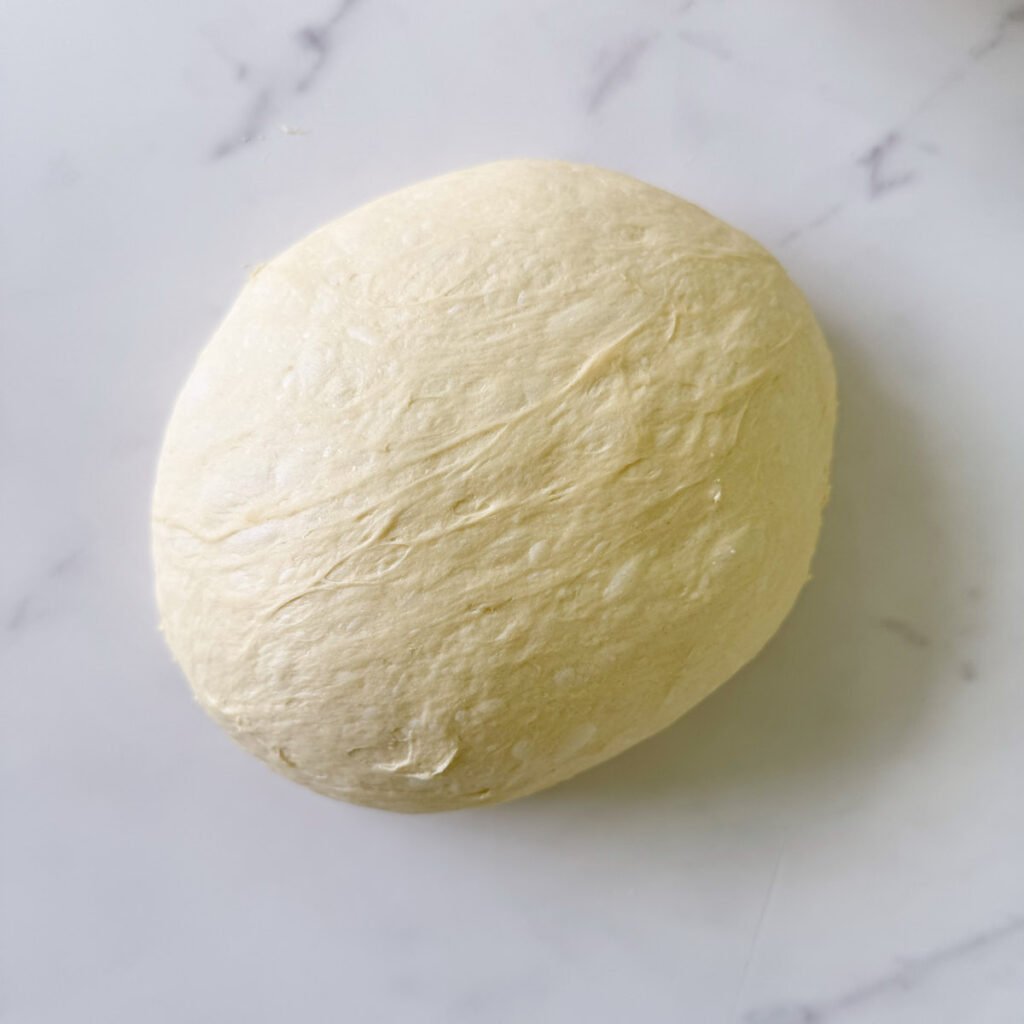
Step 4: First shape
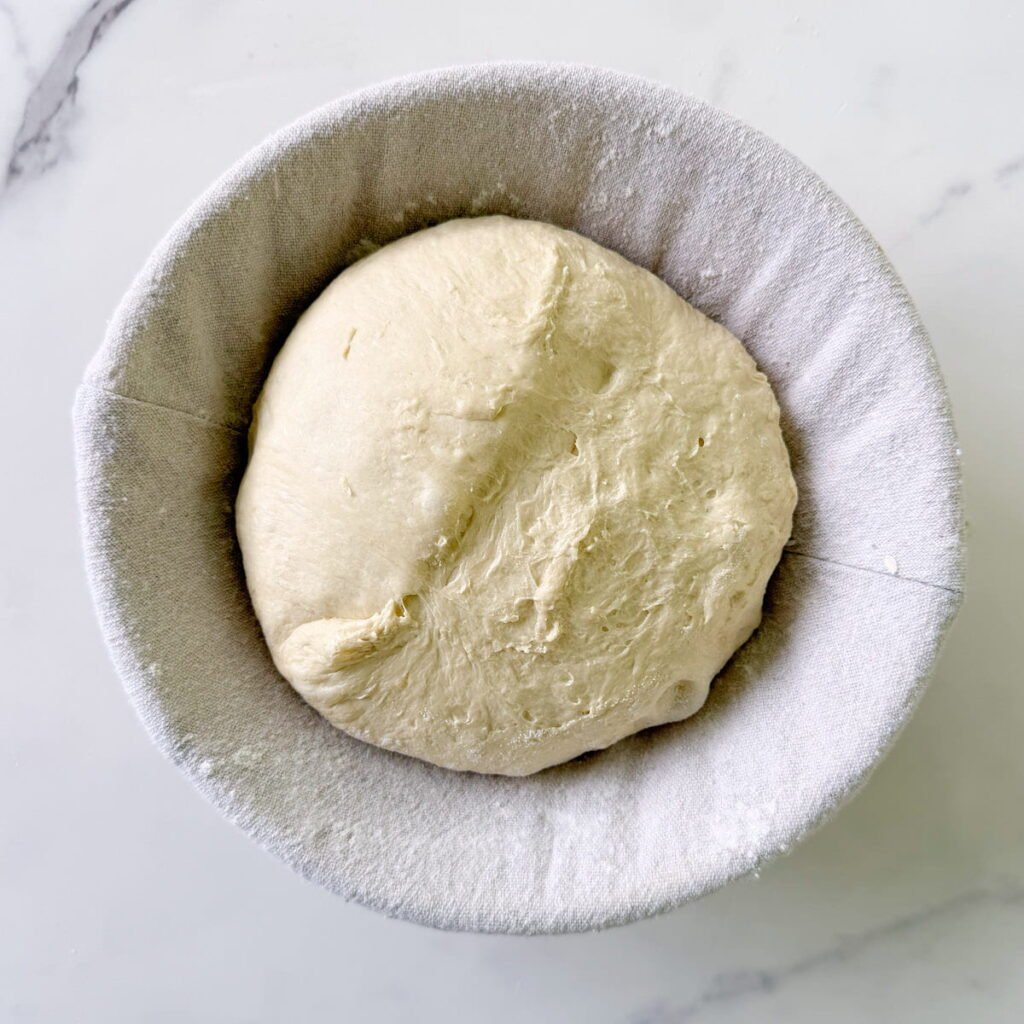
Dump the dough onto an unfloured surface and pull the dough towards the middle into a ball and then flip it over. Cup your damp hands around the dough and rotate counter- clockwise while sliding the dough towards you. Flip the dough seam-side up in a floured 8-10 inch proofing basket.

Step 6: Second proof- Refrigerator method (my preferred method)
Place the dough in the fridge overnight for 8-12 hours. Bake the next day directly from the fridge.
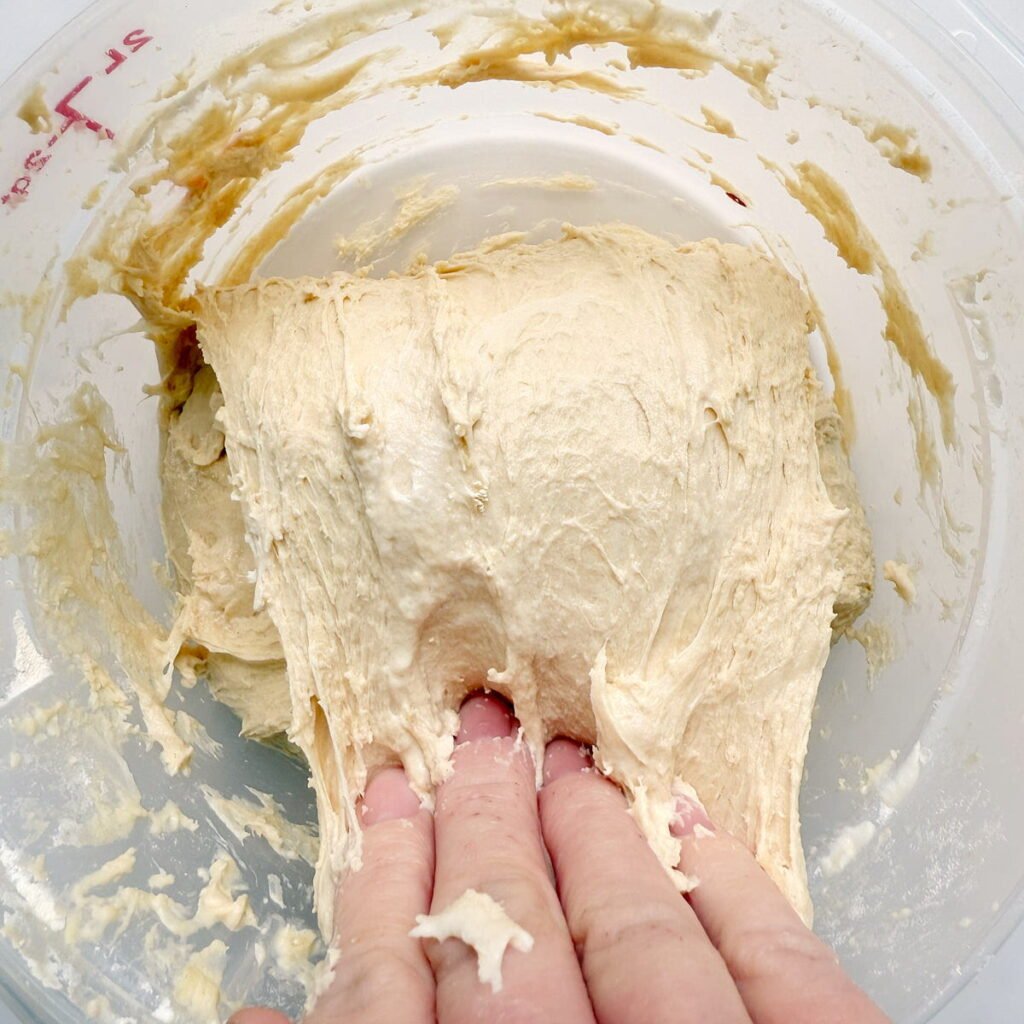
Second proof- Counter method
Leave the dough on the counter for 1-3 hours (this will vary depending on the temperature of kitchen and strength of starter). Once it passes the “poke” test, meaning when you poke the dough with a lightly floured finger the dough will slowly fill in. If the dough springs back immediately it needs more time and if it does not fill back in at all it is overproofed and needs baked immediately. Place the dough in the freezer while your oven preheats.
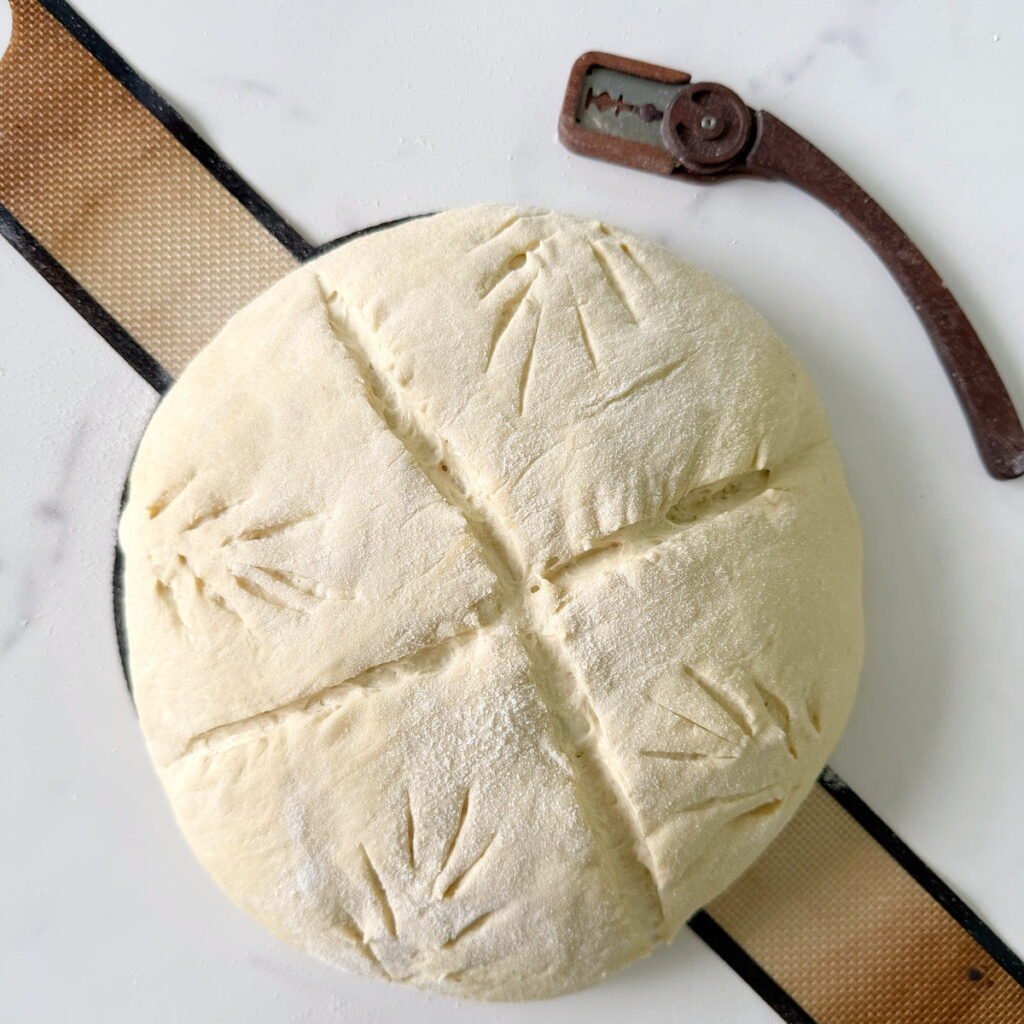
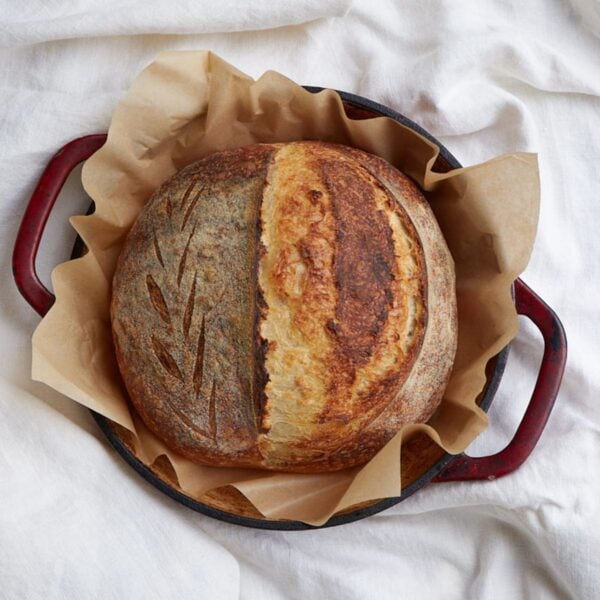
Step 7: Scoring
Preheat dutch oven in the oven at 450F. Flip dough onto a piece of parchment paper and score the bread with a bread lame or sharp knife about a quarter inch deep. This can be one line or multiple depending on your preferences. For more intricate designs hold the blade at 90 degrees and make shallow cuts.
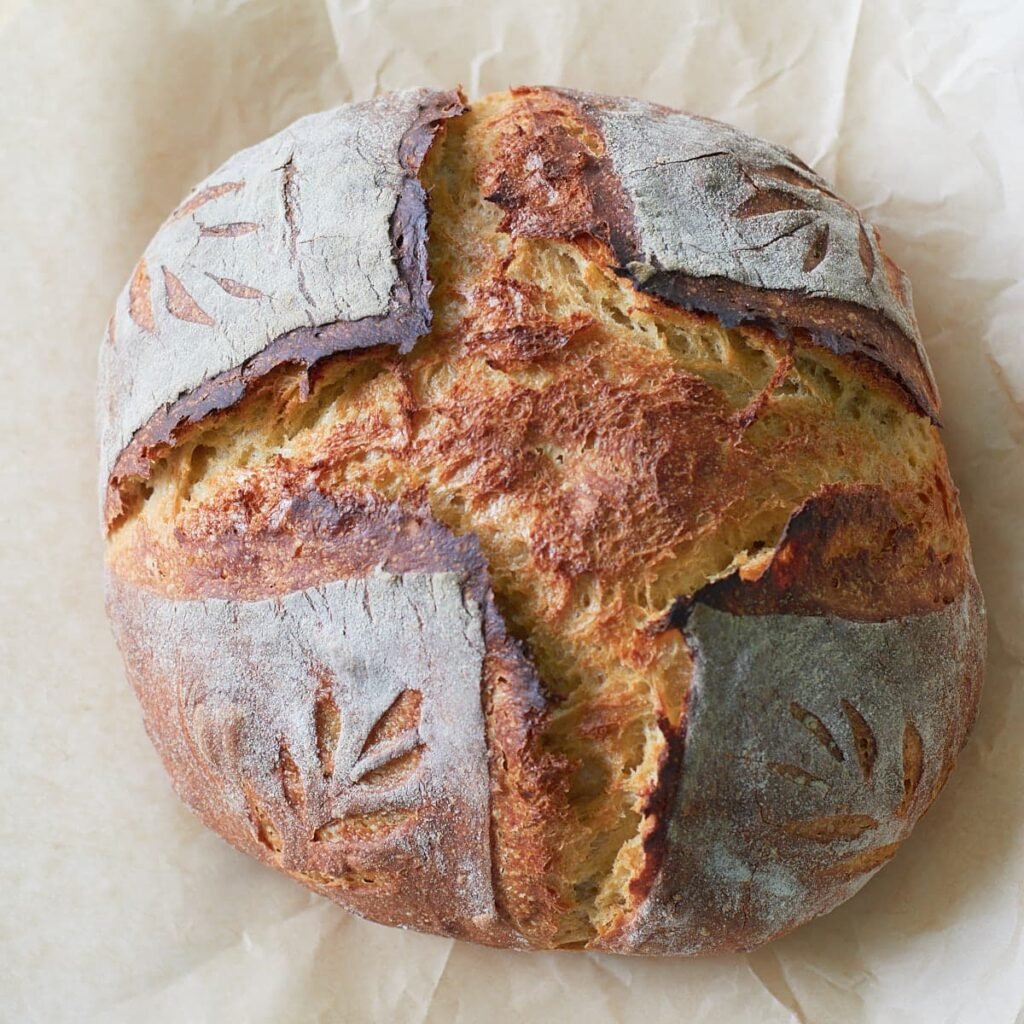
Step 8: Baking
Bake the bread for 25 minutes with the lid on. Take the lid off and bake for another 15 minutes. The bread should sound hollow when you knock on the bottom, this will tell you the bread is cooked through.
Remove the bread from the Dutch oven and allow to cool on a wire rack before slicing.
Recipe Tips
- Just a heads-up—einkorn sourdough bread feels very different than my same-day sourdough bread recipe. Einkorn has a weaker gluten structure, so the dough is stickier, more delicate, and can tear more easily. Don’t worry—it’s totally normal and still bakes up beautifully.
- Use damp hands when working with the dough.
- Use all-purpose einkorn for a lighter, fluffier loaf—or go with whole grain einkorn if you want extra nutrients and a richer, nuttier flavor.
Storage Instructions
Store a whole loaf, or a side that can be placed cut side down with only the crust exposed, on the counter up to 2 days with just a tea towel over it. If the inside of the loaf is exposed, I store it in a bread box, bread bag or brown paper bag.
Sourdough will not hold its crunch for extended periods of time but can be revived in the oven or toaster. To refresh a loaf preheat the oven to 450F. Run the loaf quickly under water and then place in the oven for 10-15 minutes until the crust is crispy again.
Sample baking schedule
Many different factors can affect your sourdough bread, such as the temperature of your dough, kitchen, humidity, and the strength of your starter, so this baking schedule is based on rough estimates. It is more important to look for the visual cues of the bread to know when it is ready.
Refrigerator method
This is my favorite method! It always turns out, it has more time to develop flavor, and the dough is cold so it is easier to score. This schedule is assuming dough temperature of 75 degrees Fahrenheit.
| Steps | Time |
| Feed starter a 1:1:1 ratio (50 grams sourdough starter: 50 grams flour: 50 grams water) *If you do not have extra starter be sure to feed your starter a little more so you have leftover | Day One: 1:00 pm |
| Mix dough | 5:00 pm |
| Stretch & folds | 5:30 pm – 6 pm |
| Finish Bulk fermentation | 6 – 9 pm |
| Shape and final proof in the fridge | 9:30 pm |
| Bake | Day two: Between 6-10 am |
Counter method
This method is great to use to bake your sourdough bread within one day. Before scoring, add the dough to the freezer while the oven preheats so it is easier to make your cuts in the dough. This schedule is based on a dough temperature of 75 degrees Fahrenheit.
| Steps | Time |
| Feed starter a 1:4:4 ratio (or a 1:5:5 ratio if going to be 12 hours before using) *If you do not have extra starter be sure to feed your starter a little more so you have leftover | Day One: 10 pm |
| Mix dough | Day two: 8 am |
| Stretch & folds | 8:30 – 9 am |
| Bulk fermentation | 9 am – 12 pm |
| Shape and final rise on the counter | 12:30 pm- 1:30 pm (or whenever dough is passing the poke test) |
| Preheat oven and place dough in freezer while waiting to firm dough and bake | 2 pm |
Recipe FAQ
No you don’t, I just use a regular starter. You can make an einkorn starter similar to how you make any sourdough starter if you would like to use an einkorn starter. Learn more about making a sourdough starter here.
Yes! Sourdough bread freezes really well. To freeze a loaf, either place the whole or half a loaf into a freezer safe bag. Alternatively, preslice the loaf and place parchment paper in between each slice before placing in a freezer bag.
To thaw, place the loaf on the counter for several hours in the ziplock bag. If you are in a time crunch I’ve used the defrost feature in the microwave to thaw my loaf. Once thawed, use the same refresh instructions as listed above. For individual slices, pulled from the freezer, pop it in the toaster. Learn more about how to freeze and reheat sourdough bread here.
Einkorn bread tends to be denser and won’t rise as tall as a loaf made with bread flour—but it should still bake up light, soft, and tender.
If your loaf is really dense, it could be a sign of it being underproofed. This is when your dough does not have long enough to ferment. This is especially common in the winter months because fermentation is slower in cooler temperatures.
Your loaf may be underproofed if the dough does not rise, the crumb is dense and gummy, the crust is pale with a doughy center even with long bake times, or has large holes at the top with dense areas surrounding it.
If your loaf is underproofed extend the time your dough is on the counter for the first proof. Use a bread mat (use code country10 for 10%) or proofing box to keep the dough warm to ensure it will rise properly. You can also try leaving the dough in the oven with the light on, above the refrigerator, or near a heating vent. Learn more about how to keep your dough warm here.
Einkorn sourdough bread won’t rise as much as a white flour loaf due to the weaker gluten
This is totally normal! Einkorn has a lower gluten content, which means a weaker structure—and that’s why the dough feels so sticky. Using damp hands when handling it makes a big difference.
Yes, you can absolutely leave out the bread flour if you prefer—just keep in mind the loaf will be a bit more dense.
More sourdough Bread Recipes

Sourdough Bread Recipes
Whole Wheat Sourdough Bread Recipe (Easy And Delicious)
Sourdough Bread Recipes
Same Day Sourdough Sandwich Bread Recipe
Sourdough Artisan Bread Recipes
Easy Sourdough Bread Recipe
Sourdough Bread Recipes
Same Day Sourdough Focaccia Recipe
Tried this Einkorn Sourdough Bread or another recipe from the site? I’d love to hear about it! Drop a star rating and share your thoughts in the comments—can’t wait to see what you’re baking!

Einkorn Sourdough Bread
Ingredients
- 400 grams einkorn whole grain or einkorn all-purpose flour, 3¼ cups
- 100 grams bread flour, ¾ cup
- 300 grams water, 1 ¼ cup
- 150 grams sourdough starter, ⅔ cup
- 10 grams salt, 1½ teaspoons
Instructions
- Mix the dough: With a danish dough whisk, hands, or large spoon mix together active starter, water, and salt in a 2 quart container with straight sides or a medium clear bowl. Add the einkorn flour and bread flour and mix until the dough is shaggy and the flour is incorporated. The dough will be sticky. Cover with a lid or dinner plate so the dough doesn't dry out and let sit for 30 minutes in a a warm spot. For a similar timeline as listed below keep the dough temperature at 75℉.300 grams water, 150 grams sourdough starter, 10 grams salt, 400 grams einkorn whole grain or einkorn all-purpose flour, 100 grams bread flour
- Stretch and folds: Perform two sets of stretch and folds with 30 minutes between each set. To stretch and fold, grab one side of the dough with a damp hand and gently shimmy the dough up, and then fold it on itself. Repeat this 3 more times rotating the bowl 90 degrees each time.
- First Rise: Let the dough rest on the counter in a warm spot to finish bulk fermentation. Bulk fermentation is done when the dough is domed on top, bubbly on the sides, and risen 40-50%. If it does not show these signs, continue to let the dough rise. At a dough temperature of 75 degrees Fahrenheit my dough is ready in 4 hours from the time it is mixed.
- Shape: Dump the dough onto an unfloured surface and pull the dough towards the middle into a ball and then flip it over. Cup your hands around the dough and rotate counter- clockwise while sliding the dough towards you. Once you have a taut round ball place the dough upside down in an 8-10 inch banneton basket or floured bowl with a tea towel for the second rise. Cover with something that will keep the moisture in. See the video tutorial in the blog post.
- Opt 1 Final Rise Refrigerator Method (my preferred method)- Place the dough in the fridge overnight for 8-12 hours. Bake the dough directly from the fridge.
- Opt 2 Final Rise Counter Method– Leave the dough on the counter for 1-3 hours (this will vary depending on temperature of kitchen and strength of starter). Once it passes the "poke" test, meaning when you poke the dough with a lightly floured finger the dough will slowly fill in. If the dough springs back immediately it needs more time and if it does not fill back in at all it is overproofed and needs baked immediately. Place the dough in the freezer while your oven preheats.
- Preheat: Preheat the oven and dutch oven to 450℉.
- Bake: Flip the dough onto parchment paper or silicone bread sling and score the bread with a bread lame or sharp knife about a quarter inch deep at a 45 degree angle on one side of the dough following the curvature of the loaf. Bake the bread for 25 minutes with the lid on. Take the lid off and bake for another 15 minutes. The bread should sound hollow when you knock on the bottom, this will tell you the bread is cooked through.
- Remove the bread from the dutch oven and allow to cool on a cooling rack before slicing. The bread should sound hollow when you knock on the bottom after coming out of the oven, this will tell you the bread is cooked through.
Notes
- For 10% off your first order at Grand Teton Ancient Grains use code countryroadssourdough.
- For best results I recommend using the gram measurements instead of cups, as it will be much more accurate.
- Timing will depend on the temperature of your dough and the activity level of your starter. Watch your dough versus the clock. See the blog post for a sample schedule.
- Just a heads-up—einkorn sourdough bread feels very different than my same-day sourdough bread recipe. Einkorn has a weaker gluten structure, so the dough is stickier, more delicate, and can tear more easily. Don’t worry—it’s totally normal and still bakes up beautifully even though the loaf doesn’t rise as tall.
- Use all-purpose einkorn for a lighter, fluffier loaf—or go with whole grain einkorn if you want extra nutrients and a richer, nuttier flavor.
- Use damp hands when working with the dough.
Nutrition
Nutrition information is automatically calculated, so should only be used as an approximation.


I made this with Jovial brand AP einkorn flour. The dough was really sticky and didn’t have a very good bulk rise so I put it in a loaf pan since it didn’t have much structure to it. I figured it would be a flat dense loaf. When I got it out of the oven it had risen WAY up. It turned out being a really nice loaf. I’m not a big fan of white type bread, but this was really good toasted which is how I enjoy most of my SD breads. Next I’m going to try it with fresh milled einkorn flour.
Thanks Teresa!
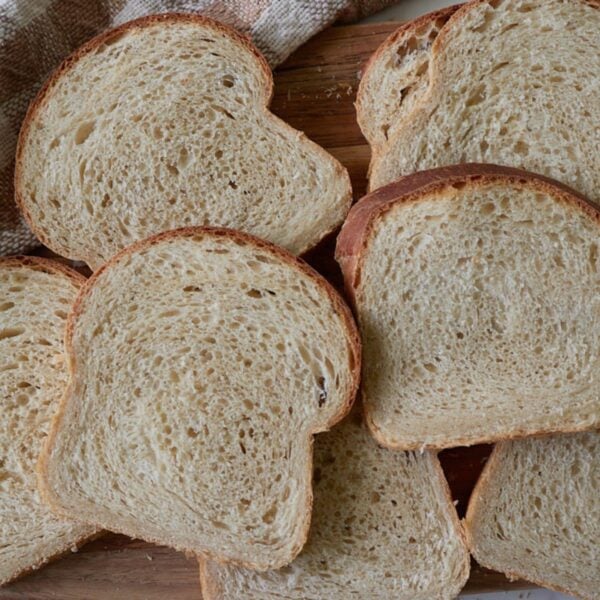
Is it possible to use this recipe and make a sandwich loaf instead of a round loaf?
Thank you! Can’t wait to try this recipe!
Magda
Definitely! You can bake it in a 1.25-1.5 lb loaf pan.
I have not tried this yet but I love einkorn. I make a flat bread with it that uses a rye starter. I wondered if you have ever considered or tried adding some wheat gluten to the recipe to strengthen the dough?
I haven’t tested it but if you do let me know how it goes!
My favorite recipe- cold overnight method turns out every time
Thank you so much for the review!
I have wanted to try an Elkhorn sour dough for sometime and was pleasantly surprised with this recipe. Easy to follow directions produced a bread with great crumb and taste. It’s not as tall as a typical sour dough but that’s ok. I baked it same day and it’s warm here. I might get more volume doing overnight on a cooler day.
Thanks Sherry! So glad you liked the recipe.
Why only 1 set of stretch and folds? And you went backwards in time in the recipe. For the fridge method, you went 5:30-5 for stretch and folds.
But back to the why only 1 set question? Since there’s less gluten, do the stretch and folds not matter?
Hi Laura, thank you for letting me know about the sample schedule, the time has been updated correctly. For the stretch and folds, doing more than 1 set isn’t really necessary because of the weaker gluten composition. I’ve tested adding in more and didn’t notice a difference in the dough or final product. Hope you enjoy the recipe!
Why is the hydration so low?
Einkorn doesn’t absorb water like bread flour can. Even at a lower hydration, the dough is still pretty sticky. Too much water makes it unmanageable to work with.
This einkorn sourdough bread loaf is packed full of nutrients and rich, nutty flavor. It’s a simple, same-day recipe that turns out beautifully every time.