This post may contain affiliate links . Read my full Disclosure Policy.
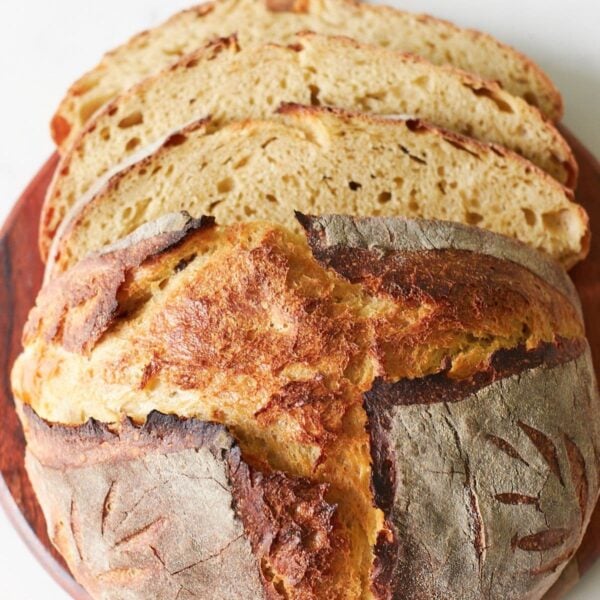
I may be a little biased but this sourdough sandwich bread is the best! It is soft and fluffy and made with active sourdough starter, no commercial yeast needed. Whether you are looking to take a break from crusty artisan loaves or are just looking for an easy sandwich bread recipe, you’ve come to the right place. With easy to follow instructions, simple ingredients, and a forgiving timeline this bread is sure to become your new go-to.
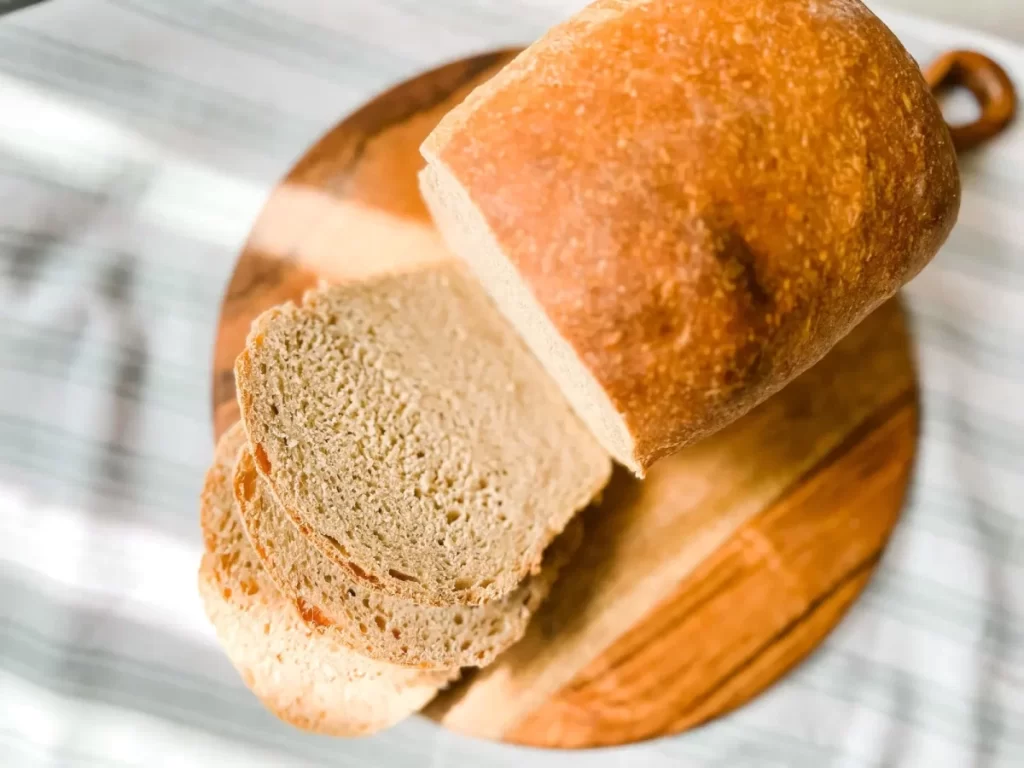
As much as I love my Overnight Sourdough Bread and Same Day Sourdough Bread recipes, I also love to have a soft sandwich bread on hand! This recipe will make you never want to buy store-bought bread again! If you need a quicker option with a rise time of only a few hours, check out my Sourdough Discard Sandwich Bread recipe. Or if you are in the mood for sliders or mini sandwiches, try my Same Day Sourdough Rolls recipe or Sourdough Hawaiian Rolls.
Why Make Sourdough Sandwich Bread?
There are so many reasons to love sourdough sandwich bread but here are the top 3.
- Taste- There is truly nothing better than homemade sourdough sandwich bread. It’s soft, fluffy and flavorful. The sourdough starter gives it the bread a slight tangy flavor, but not overbearing. My little boys love it.
- Simple, real ingredients- While I am still known to buy store-bought bread on occasion I much prefer to feed my family homemade bread. Store bought breads are often full of extra ingredients and preservatives that are not used in homemade sourdough sandwich bread. This sandwich bread is made with just 8 simple ingredients that you probably already have on hand.
- Enhanced digestibility- Did you know that a lot of people that have gluten intolerances (to be clear this is different than celiacs) can still eat sourdough bread? That’s because sourdough bread ferments for a long period of time. During the fermentation process the gluten is broken down making it easier to digest.
How To Make A Sourdough Starter?
You can make a sourdough starter in as little as two weeks! To make a starter you will need a kitchen scale, a pint-size mason jar, unbleached flour, and water.
Equipment
Mixers
You can knead this bread by hand or use a stand mixer with a dough hook attachment.
- Kitchen Aid– I used to have a Kitchen Aid 4.5qt and I loved it but it was a little too small for me. Whenever I made 2 loaves of anything the dough would climb the hook and would quickly become a mess. The kitchen aid also seemed like it was struggling with the dough.
- Bosch– I recently upgraded to a bosch and love it. I can make 4 loaves of dough in it with no issues. I recently got a bottom driver bowl and love how easy it is to get the dough out.
Loaf Pan
I love my USA 1lb Bread Pans for sourdough sandwich bread. My loaves come out of the pan easily and bake evenly.
Warming Mat
If your house runs cold this proofing mat (use code country10 for 10% off) works great for keeping your dough and sourdough starter warm.
Bread Knife
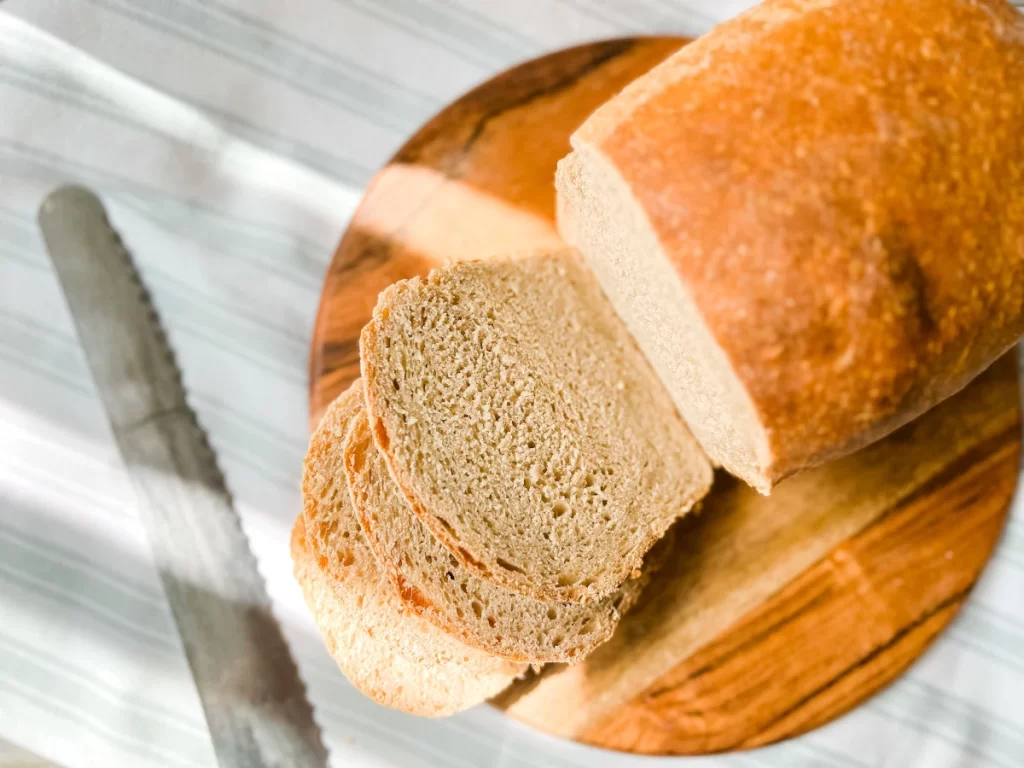
Once you bake your loaf, you will need a good bread knife to achieve clean, even slices. I always reach for my Mercer Bread Knife. But I also love Barlow & Co’s Bow Bread Knife (use code countryroadssourdough for 10% off).
Ingredients
- Sourdough Starter- Use the starter when it is at peak meaning it is bubbly and doubled in size. This replaces commercial yeast and is what makes the bread rise.
- Milk, Preferably whole milk- The fat creates a more tender, softer, and sweeter crumb. For a dairy free option use full fat coconut milk.
- Water- Tap or filtered water will work just fine.
- Sugar- This will sweeten the dough and help balance the tang from the sourdough starter. For a healthier alternative you can use honey.
- Melted Butter- The butter helps to tenderize the crumb and adds flavor.
- Salt- An essential ingredient that helps with the structure and flavor of the bread.
- Flour- This combination of white and whole wheat flour makes for a fluffy crumb while also providing additional nutrients.
How To Make Sourdough Sandwich Bread
Kneading
Begin by mixing all the ingredients together in the stand mixer with a dough hook. Continue to knead the dough in the mixer for about 10-15 minutes. This can also be done by hand on a lightly floured surface.
Windowpane test

In order to determine when the dough is done kneading we will perform what is called a windowpane test. The windowpane test is performed by gently pulling a section of the dough thinly enough that you can see light through it. If you can see light through the dough is strong and elastic enough to move forward. Be sure to let the dough rest for 2-3 minutes before performing the test to ensure the dough is relaxed. If the dough tears when pulled thin continue kneading it. If the dough is still not passing windowpane test after 20 minutes just proceed forward.
First rise
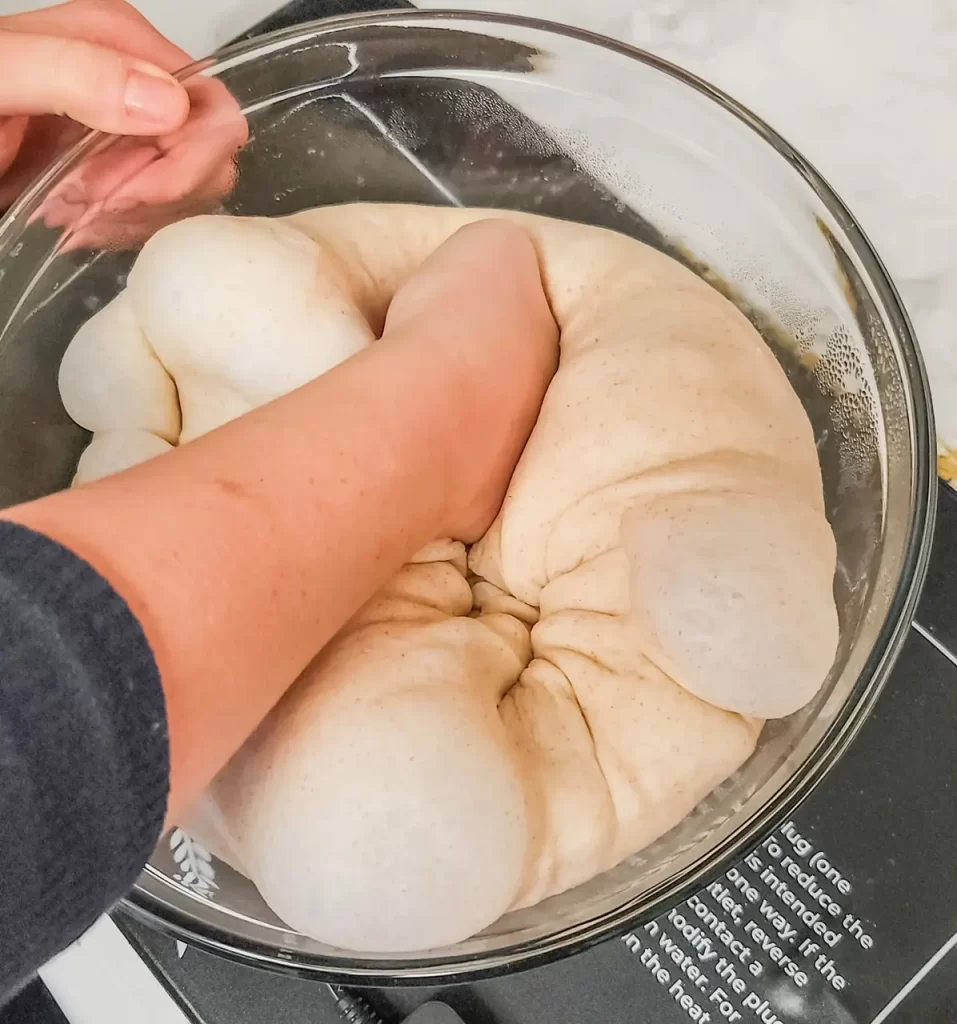
Shaping
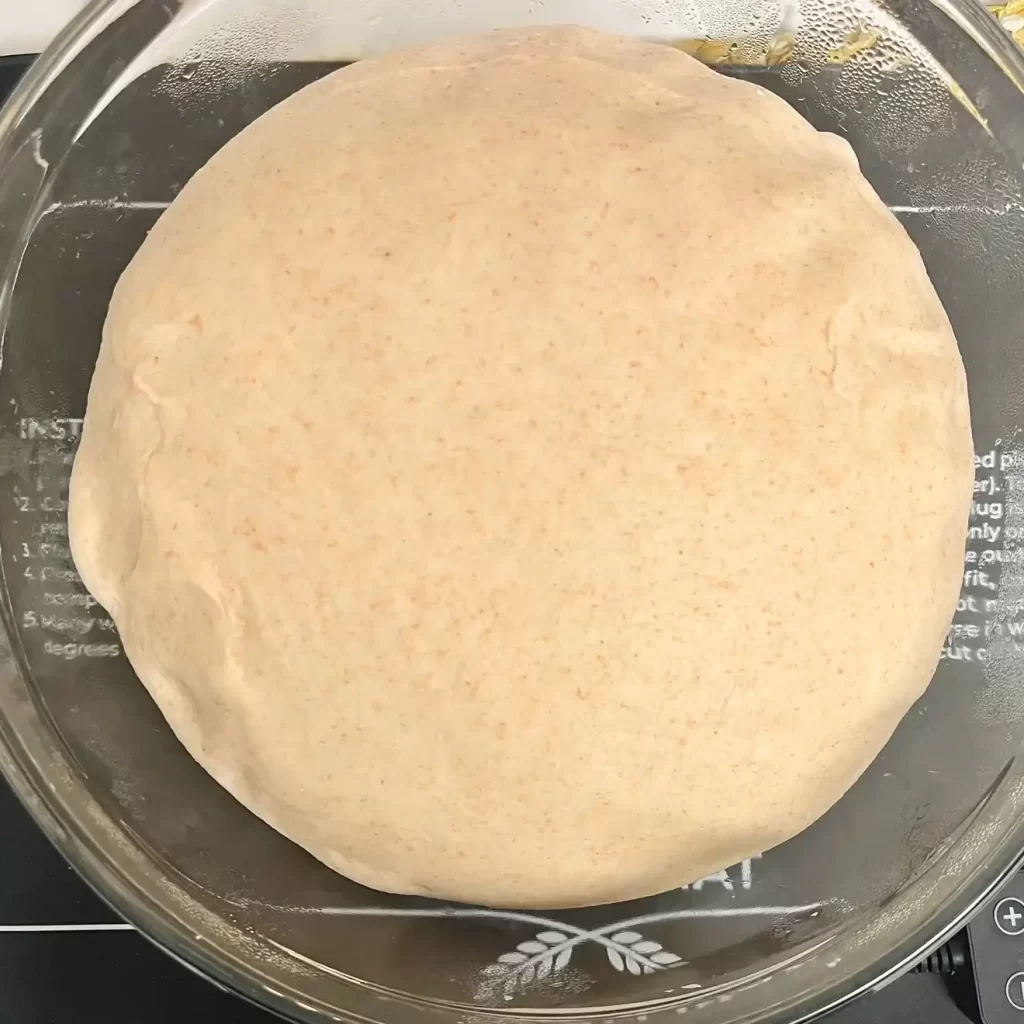
Once the dough doubles in size, punch the dough down. Place the dough on the counter, lightly flouring if needed, and pull the dough into a rectangle. Fold one side of the dough to the middle followed by the other side. Roll the dough up like a cinnamon roll. Pinch the sides of the dough the seal the seams.
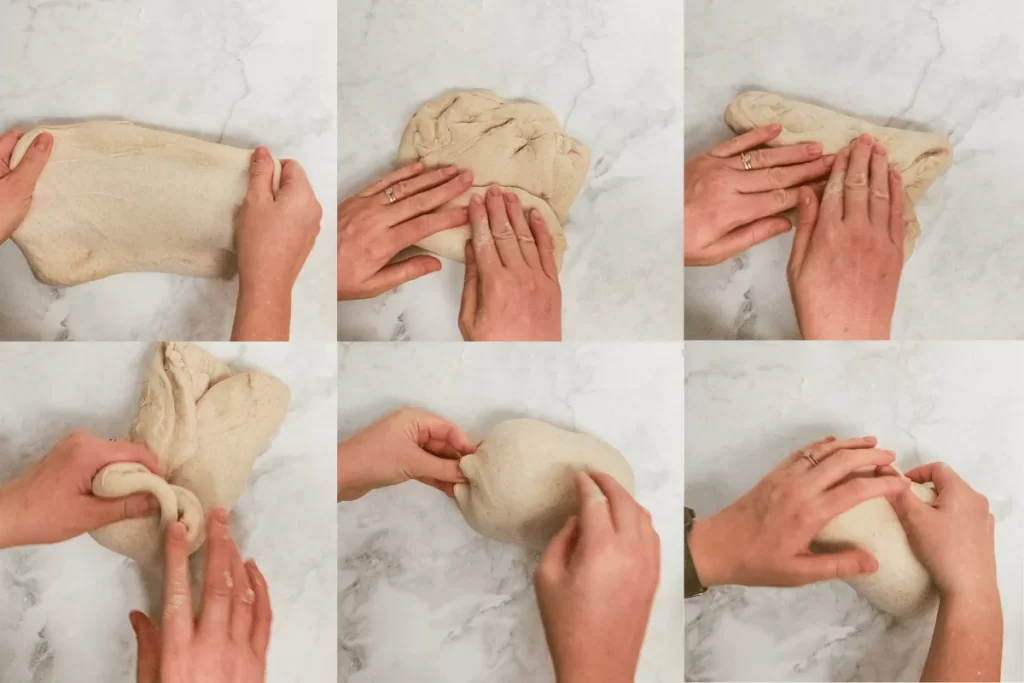
Second rise
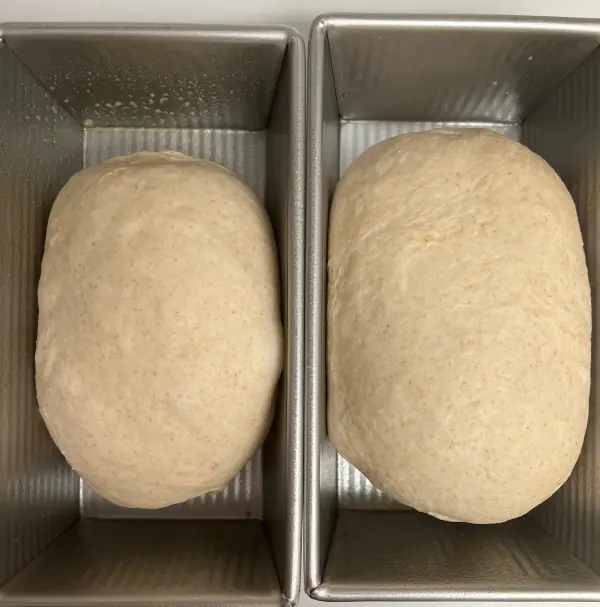
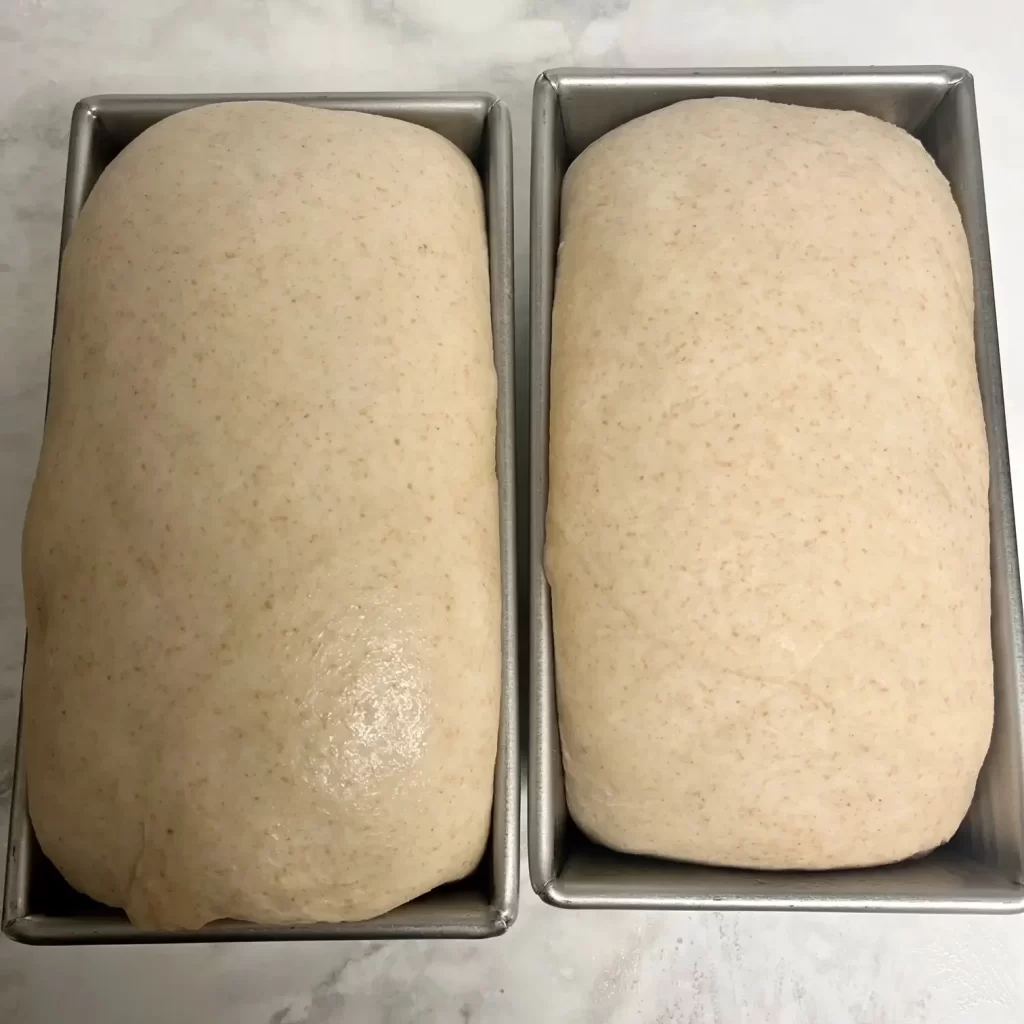
Place the shaped loaf into a greased loaf pan. Cover with foil, seran wrap, or a reusable cover and let the dough rise until it fills the loaf pan and rises above the pan. About 1-3 hours.
Baking
Once the dough rises preheat the oven to 350F. Bake the loaf for 40-50 minutes until the internal temperature reaches 190F and is browned. If it is getting too brown add tinfoil the last 15 minutes. If you would like a buttery crust rub butter on the surface of the crust after baking. Remove the loaf from the pan and let it cool on a cooling rack.
Tips for Making Soft Sandwich Bread
The key to a successful sourdough sandwich loaf is heat. Enriched doughs take longer to rise, especially in cooler weather. If your dough does not double in size in the first rise and does not rise above the loaf pan in the second rise it is going to be dense when baked. If the loaf is a very heavy, dense or doughy in the middle it most likely did not rise long enough.
To ensure a soft, fluffy loaf especially in cooler temperatures here are a few tricks:
- Use more sourdough starter in the recipe. If your loaves take too long to rise add up to 150 grams of active sourdough starter in the recipe. You do not need to change anything else. If in the warmer months the dough is rising too quickly you can bump the measurement down to 100 grams of active sourdough starter.
- Use warm ingredients. Heat up the milk and water but make sure it is not hot to the touch as we don’t want to kill the wild yeast.
- Find a warm spot for it to continue to rise like in the microwave or the oven with the light on for an hour or two. I love to place my dough on my proofing mat (use code country10 for 10% off) at 77F overnight or 100F for a shorter period of time.
Storage Tips
Once the loaf cools completely, you can store it in a bread box or ziplock bag. It usually will last 5-7 days unless humidity is high which can cause it to mold quicker.
This sourdough sandwich bread freezes well too. I like to double the recipe and keep one on my counter and one in the freezer. You can either freeze the entire loaf uncut or sliced. To freeze an uncut loaf simply wrap in foil or place in a freezer safe ziplock. Once you are ready to eat the loaf place it on your counter covered overnight to thaw. To pull slices out individually, cut the loaf and place pieces of parchment paper in between each slice. Place in a freezer safe ziplock and pull slices out as needed.
Looking For A Beginner Artisan Sourdough Bread Recipe?
Check out my Same Day Sourdough Bread Recipe

Sourdough Sandwich Bread
Equipment
Ingredients
- 125-150 grams sourdough starter, active and bubbly , ~½ cup (see note)
- 100 grams milk, warm, ⅓ cup + 2 Tablespoons
- 160 grams water, warm, ⅔ cup
- 50 grams sugar or honey, ¼ cup
- 57 grams unsalted butter, melted, ¼ cup
- 10 grams salt, 1 ½ teaspoon
- 100 grams whole wheat flour, ¾ cup + 1 Tablespoon
- 400 grams bread flour, 3 cups
Instructions
- Mix all ingredients together in a stand mixer or by hand. If your house runs cold bump or you need the dough to rise quicker use 150 grams of sourdough starter. In warmer months or if you want a slower rise use 125 grams of sourdough starter.125-150 grams sourdough starter, active and bubbly , 100 grams milk, warm, 160 grams water, warm, 50 grams sugar or honey, 57 grams unsalted butter, melted, 10 grams salt, 100 grams whole wheat flour, 400 grams bread flour
- Once combined knead the dough for 10-15 minutes in a stand mixer with a dough hook on the lowest speed or by hand on a lightly floured surface. To determine when the dough is done kneading perform a windowpane test. This should be done on relaxed dough so let your dough rest for a minute or two before completing the test. Gently pull a section of the dough thin enough to see light through. If it doesn't tear then it is ready. If it tears continue kneading for a few more minutes. If by 20 minutes it still is not passing windowpane just move forward in the process.
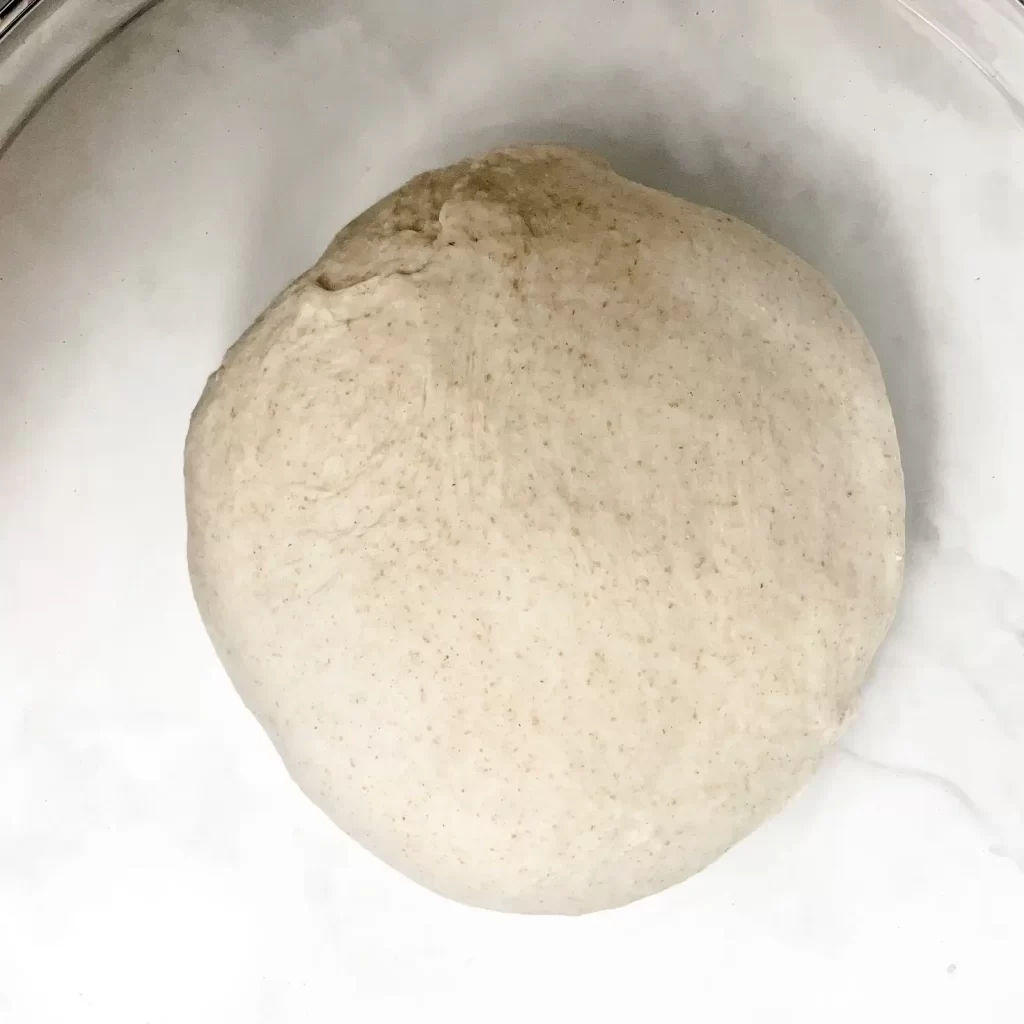
- Shape the dough into a ball and place it into a bowl. Cover the bowl with something that will keep moisture in (a tea towel is not a great option as the dough will dry out). Leave it to rise in a warm area overnight until doubled in size. It should take roughly 8-12 hours. If it is taking longer it needs a warmer spot.
- In the morning punch down the dough and shape into a loaf. Place the shaped dough seam side down in a greased 1lb loaf pan and cover.
- Let the dough sit for an hour or two until it has filled the loaf pan and risen above it.
- Bake at 350℉ for 40-50 minutes (45 minutes is the sweet spot for me) until the internal temperature reaches 190F and is lightly browned. If it gets too brown add tinfoil overtop of the bread for the last 15 minutes.
- Remove the loaf from the loaf pan and place the bread on a cooling pan.
Notes
- If you are looking to save time double the recipe to make an extra loaf for the freezer.
- If the dough is cold it will take much longer to rise. Find a warm spot in the house to let the dough rise. If it needs an extra push at the end place in the oven with the light on for an hour or two.
- If your house runs cold bump up the amount of sourdough starter to 150 grams.
Nutrition
Nutrition information is automatically calculated, so should only be used as an approximation.




What is the best way to store this bread?
In a ziplock or bread bag or I always put it in my bread box. If it’s going to be more than a few days I like to store in the freezer so it stays fresh.
After shaping, could I pop it in the fridge till I’m ready to bake?
Yeah I would recommend within 12 hours.
This bread is the best bread I’ve ever made.
Everyone that had it loved it. I made it again and will make more for sure.
So glad you like it. Thanks for the review!