14 Sourdough Baking Tools to Make Your Life Easier
Updated Apr 02, 2026
This post may contain affiliate links . Read my full Disclosure Policy.
There is not much you HAVE to have in order to make delicious sourdough bread at home. However, having the right baking tools to make sourdough bread can definitely make your life easier. These 14 tools are all things I use on a regular basis and that I highly recommend having if you plan to make sourdough bread frequently.

Save & Summarize
For a full video talking about all of my favorite tools and why I use them check out the free preview lesson from my online class.
Table of Contents
Shop My Favorite Stores for Sourdough Tools
Find a list of all my favorite products and a full list of discount codes on my favorites page.
- Barlow & Co– Use coupon code CountryRoadsSourdough for 10% off. I love my dough whisk, bread knife, and rolling pin from here. Their items are high-quality and handcrafted in the USA.
- Bakehouse Essentials– Use code Country10 for 10% off. I love their proofing mat. I have the size large and it keeps my starter and dough warm all year long.
- Knead Ace– Use the link for 10% off. I have the magnetic bread lame and the pro bread starter jar.
- Amazon– Shop all my amazon favorites.
Sourdough Baking Tools
1. Kitchen Scale
If you don’t already have a kitchen scale I would highly recommend getting one. While you can use measuring cups, they will not provide the consistency and accuracy that a scale can provide. This is why most sourdough bread recipes are listed by weight. I know sometimes it may feel easier to use measuring cups but I promise the scale is so much easier and as an added bonus you don’t have a bunch of extra dishes to wash at the end.
2. Wide Mouth Jar
When finding a jar to store sourdough starter in there are a few things you will want to keep in mind.
- Shape- A straight-sided jar will be the easiest way to see when the starter has doubled or more in size. I also prefer a wide-mouth because it is a bigger opening to add ingredients to and for stirring.
- Color- A clear jar will allow you to see the starter’s activity level and when it is at its peak.
- Size- I typically store starter in either a pint (16oz) or quart (32oz) jar depending on how much starter I have in my jar. You will want to ensure your starter has at least 2x the amount of space of the jar to grow.
I love the Pro Sourdough Starter Jar from Knead Ace which comes with a rubber lid and my favorite skinny spatula for stirring starter. Or for a more affordable option you can use a wide mouth mason jar.
3. Silicone lids
Any non air-tight lid will work for storing sourdough starter but I love these silicone lids. They are easy to clean and are a perfect fit for my jars. If you have an Ikea by you they are cheaper than on Amazon.
4. Proofing Baskets
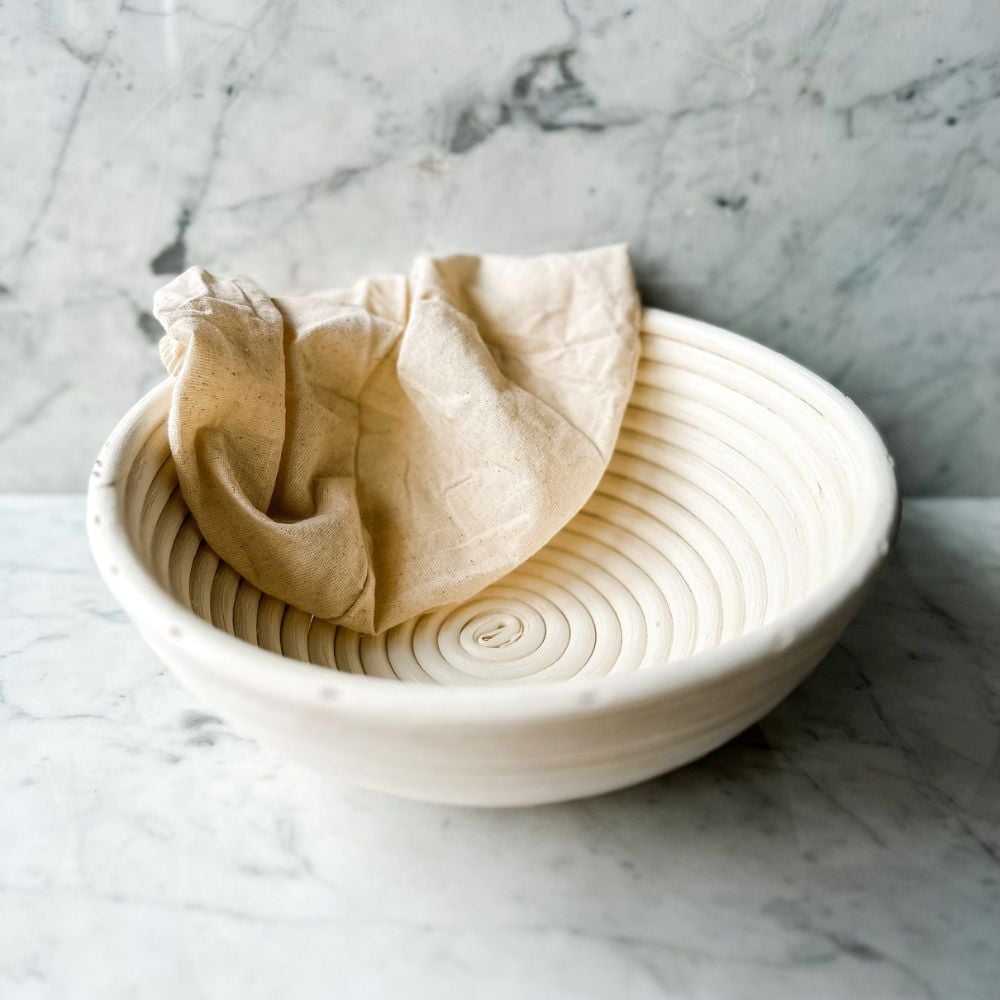
I love proofing my sourdough bread in banneton proofing baskets. The rattan basket lined with a fitted cloth is the perfect shape and size to ensure your dough has the support it needs to rise up instead of spreading out. The best value is to get a sourdough kit. Proofing baskets come in a round shape (boule) or loaf shape (batard). If you don’t want to invest in a proofing basket yet you can use a 8-10” bowl lined in a tea towel to proof bread.

5. Mixing Bowl
A clear large mixing bowl or tub is used for making the dough. Clear is the best option because you can asses the dough and visually see when the bread is done proofing. I like to proof in a straight edge 2-quart container.
6. Dough Whisk
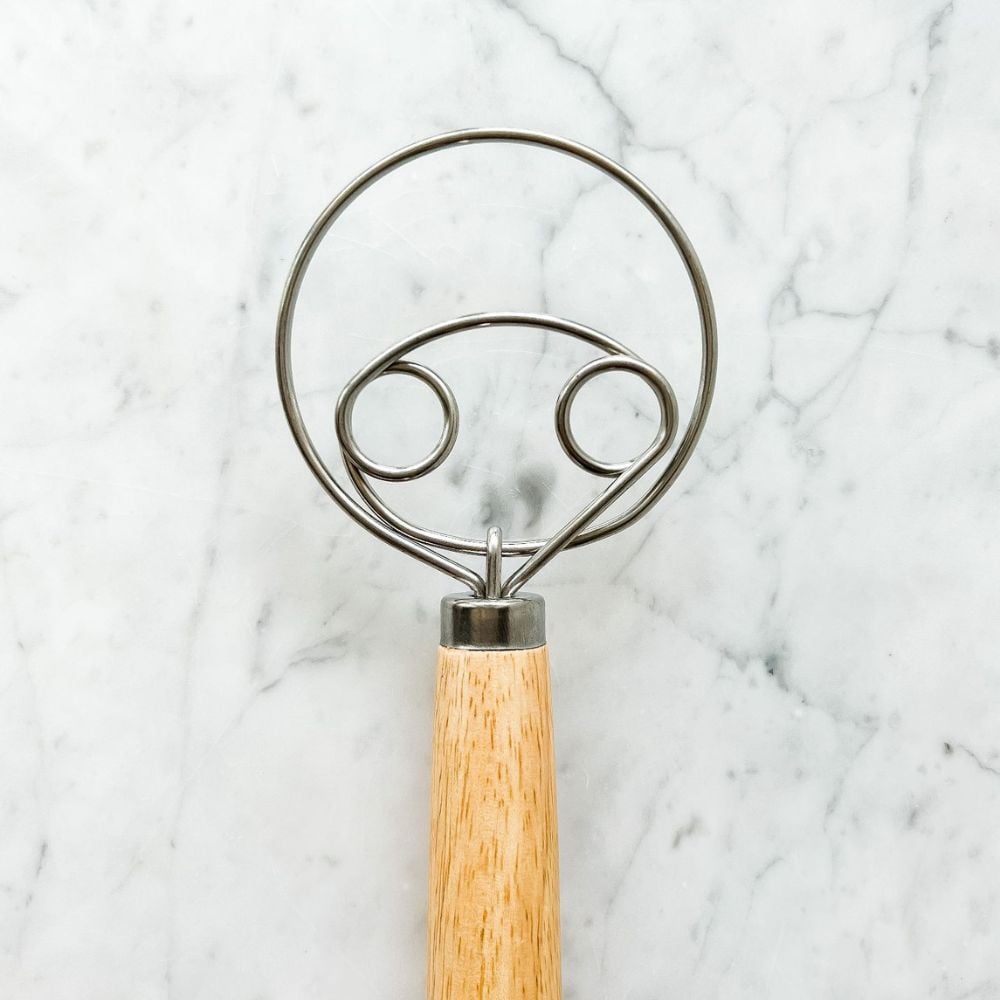
Not only is this the ultimate dough mixer but due to the open design it gently mixes any kind of batter without the fear of tough baked treats due to over-beating. I love my danish dough whisk from Barlow & Co (use code CountryRoadsSourdough for 10% off).
7. Bread knife
Artisan sourdough bread does have a hard, crunchy crust so a sharp bread knife is really helpful for getting clean slices. A long, serrated knife works great. Trust me, nothing is worse than trying to cut bread with a crappy knife. I’ve had this bread knife for several years and love it! If you are looking for a bow knife this is a great option (be sure to use code CountryRoadsSourdough for 10% off).
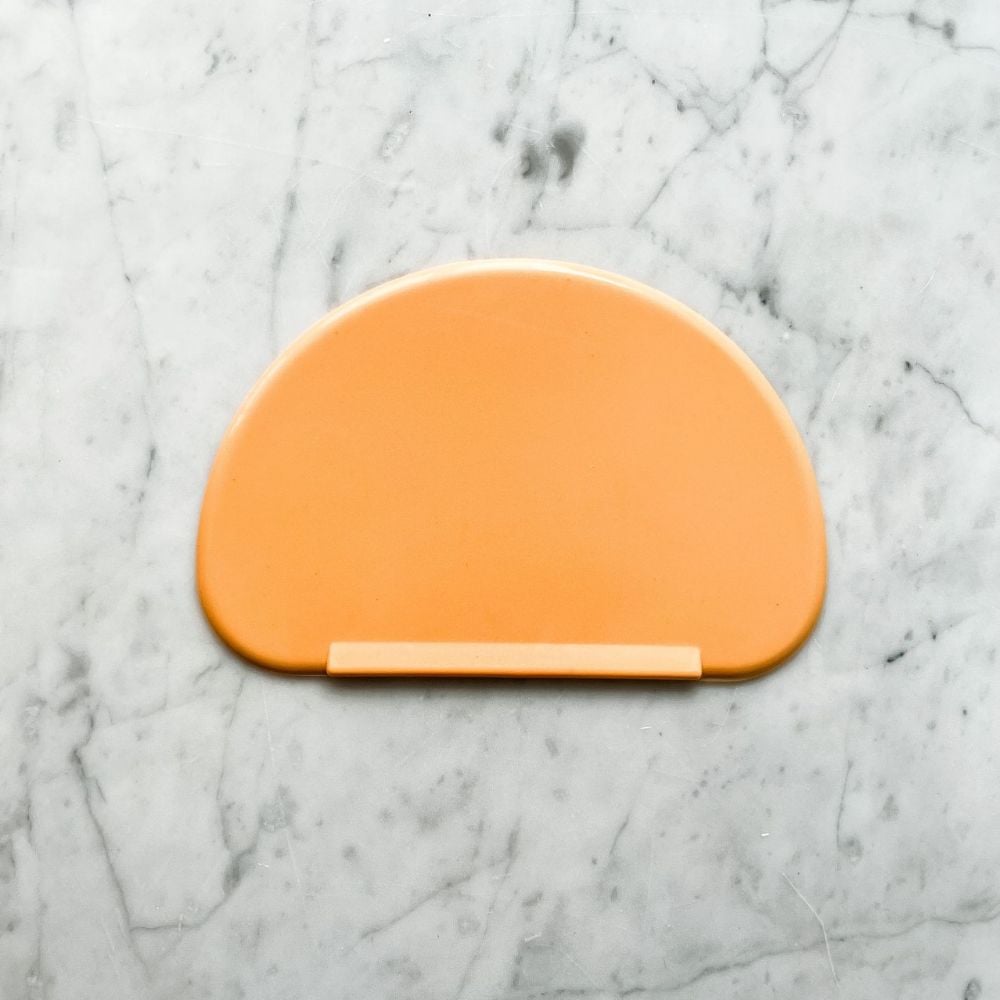
8. Bench Knife/Scraper
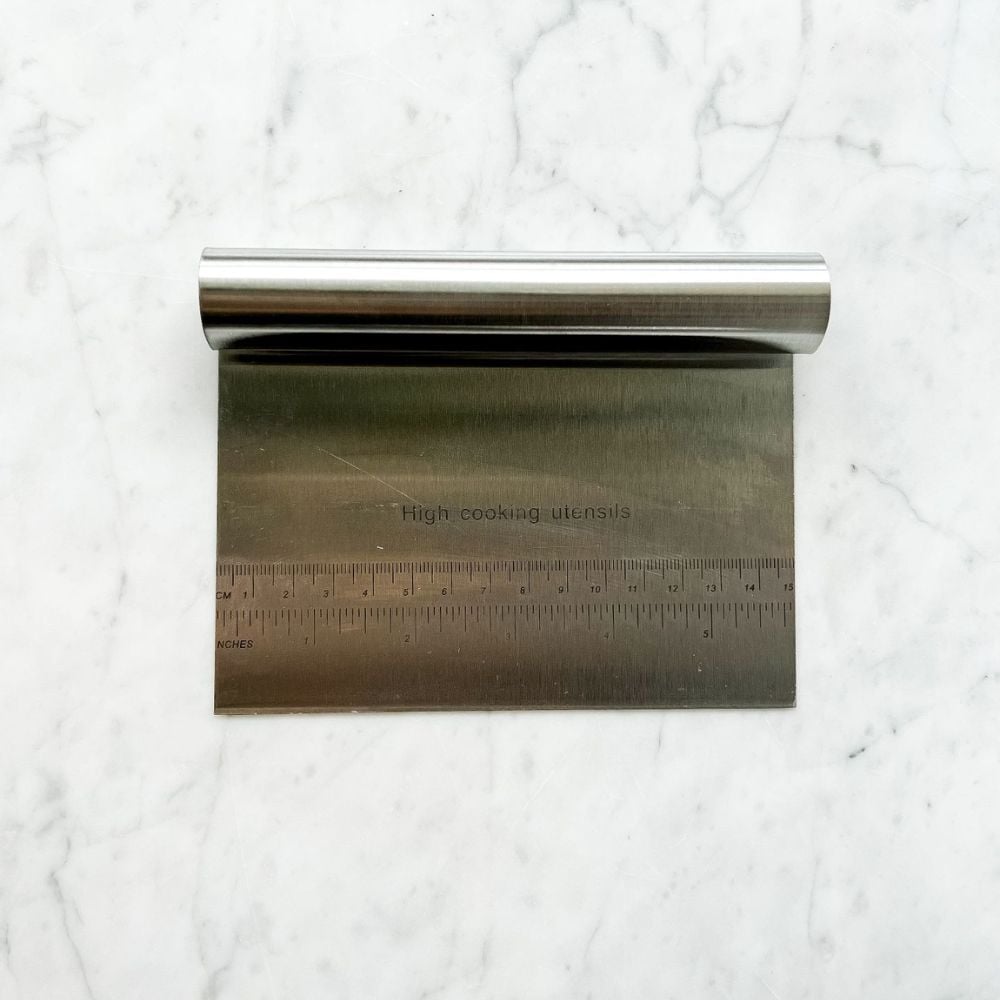
This scraper works so well when getting leftover dough off the counter! Plus, it is a great tool to help move dough around and separate it into smaller sections.
9. Silicone Baking Slings
While parchment paper works just fine, these silicone baking slings have been a game changer for me! First off, if you make a lot of bread you end up using so much parchment paper which gets expensive and feels wasteful. Second, parchment paper sometimes puts dents in the dough when baking and makes the loaf look wavy. Plus, they can be thrown in the dishwasher for easy washing!
10. Bread Lame
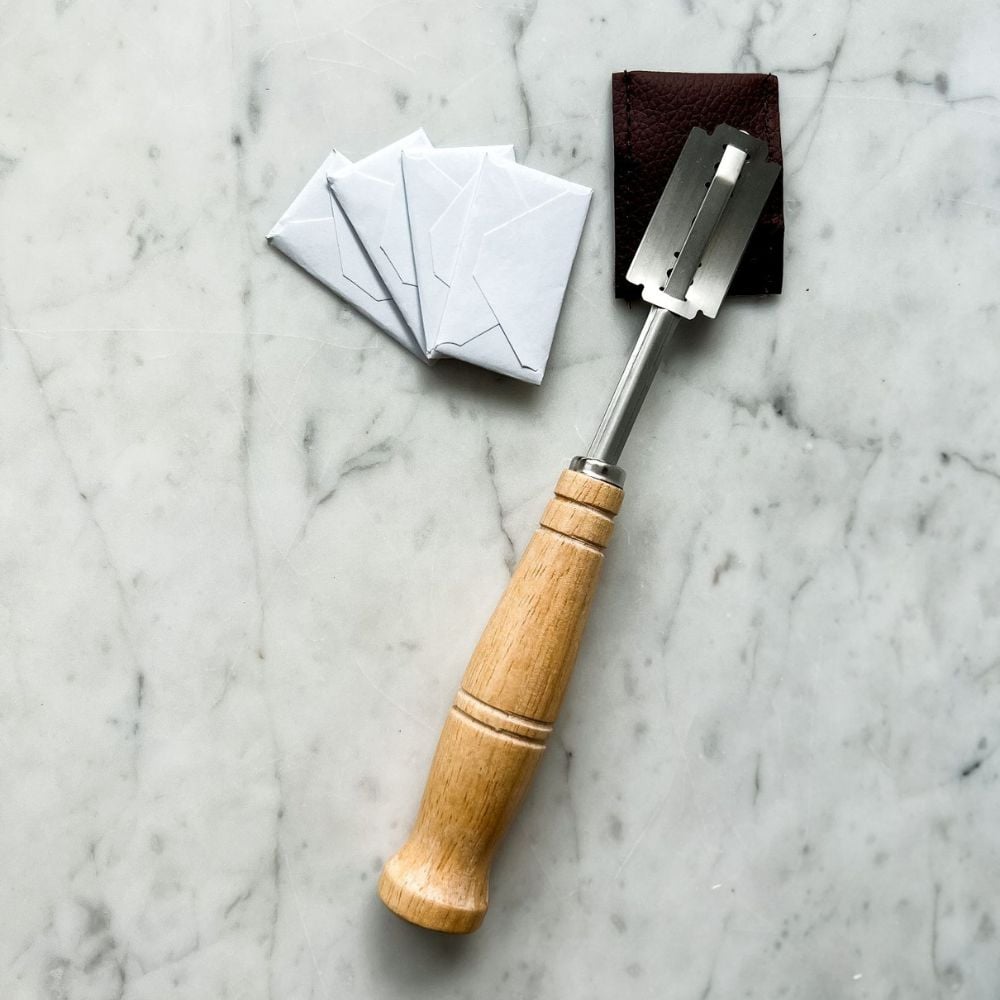
A bread lame is used for scoring bread right before baking it. Having a sharp blade is critical to ensuring a clean cut in the dough with minimal tugging. I’ve recently been loving my magnetic bread lame from KneadAce.
11. Bread Oven or Dutch oven
A bread oven or dutch oven is a great investment to ensure a beautiful loaf every time. It traps in the moisture from the dough, which allows the bread to rise before the crust hardens. This is important for getting good oven spring. Make sure the dutch oven is rated for up to 450 degrees Fahrenheit in the oven and is a 5qt or larger. The main difference between a bread and dutch oven is the bread oven has a shallow base and a tall lid while a dutch oven has a deep base and thin lid. I personally prefer a bread oven but both will work. Secondhand stores are a great place to look for affordable options.
12. Bowl scraper
13. Cooling rack
Once your bread comes out of the oven it needs to be removed from the dutch oven immediately. Letting the bread cool in the dutch oven or on the baking sheet it is on will soften the crust and create a soggy bottom. Letting the air circulate around the bread on a cooling rack creates a crisp crust.
14. Rubber spatula
A skinny rubber spatula works great for stirring sourdough starter. A spoon or other stirring tool will work but I like that the spatula easily cleans the sides of the jar after mixing.


Why don’t you put the prices of all these items next to the picture? Why do you make it so much more difficult for old people to find out what we’re looking for?
Hi Kendall, thanks for the feedback. Unfortunately, prices fluctuate so much on items and I don’t have the capacity to constantly come back to update the post with the updated prices. I think it would be more frustrating to have a price listed but then when you go to order the price is different.
FYI #5 you wrote asses instead of assess 😬😅