This post may contain affiliate links . Read my full Disclosure Policy.


Soft and fluffy sourdough pita bread comes together in just one day with simple ingredients and is naturally leavened with sourdough starter. These light, airy pockets are full of flavor and perfect for stuffing or scooping. Homemade pita bread is easier than you think, and far better than store-bought!

Save & Summarize
Table of Contents
- Why you will love this recipe
- What is the difference between pita bread and naan bread?
- Important Ingredients and Substitutions
- Helpful tools
- Instructions to make Sourdough Pita Bread
- Sample Schedule
- Preparing dough in advance
- Recipe Tips
- Ideas to use the sourdough pita bread
- Storage instructions
- FAQ
- More sourdough bread recipes
- Sourdough Pita Bread Recipe
Why you will love this recipe
- Similar to sourdough tortillas, this recipe is made with basic ingredients you can find in your kitchen.
- This is a same day sourdough recipe, which means that it only takes one day to mix your dough, let it rise and bake. For more same day recipes try my Sourdough Naan Bread, Same Day Sourdough Bread, Same Day Dinner Rolls and Sourdough Hamburger Buns.
- Instead of using commercial yeast to leaven, this homemade pita bread is naturally leavened with a sourdough starter, which also gives it a slightly tangy flavor.

What is the difference between pita bread and naan bread?
Both are flatbreads, but pita puffs up when baked, creating a signature pocket, while naan stays soft and pillowy. Pita is typically made with fewer ingredients, whereas naan often includes yogurt for a soft, fluffy texture. Their origins also differ—pita comes from the Middle East, while naan originates from India.
Important Ingredients and Substitutions

- Active sourdough starter – Use your sourdough starter when it is at its peak, has doubled in size, and is bubbly.
- Bread flour – I prefer to use bread flour when making sourdough bread because bread flour has a higher protein content and can better absorb liquid. In a pinch, you could use all-purpose flour, but I recommend reducing the water by 25 grams or so.
- Olive oil – Using extra virgin olive oil helps create a soft pita. You can substitute for another type of oil if needed.
See all the ingredients and amounts in the recipe card below.
Helpful tools
- Stand Mixer – It is easiest to make the sourdough pita recipe with a stand mixer so you do not have to worry about it sticking to your hands.
- Kitchen scale – The recipe has both grams and cup measurements. but I always recommend using a kitchen scale to weigh the ingredients for the most accurate results.
- Rolling Pin – This is my favorite rolling pin I use for all of my baking needs such as rolling out cinnamon roll dough.
- Baking steel – The baking steel will get really hot, which is what you need for the pitas to puff up and get the signature pocket in the middle. I use a 1/4″ thick baking steel. You can also use a pizza stone or cast iron skillet for the same results but be sure to check the heat tolerance of your pan.

Instructions to make Sourdough Pita Bread

Step 1: Start by adding the sourdough starter, water, salt, and olive oil to the bowl of a stand mixer and knead with the dough hook attachment on low speed for about 5 minutes until the dough is soft and smoothing out.
Alternatively, mix all the ingredients in a bowl and knead by hand on a lightly floured surface. When kneading the dough it will be very sticky at first but once it has been kneaded for a few minutes should be a little tacky but not overly sticky. Resist the urge to add a lot of extra flour at the beginning.

Step 2: Cover the bowl and let it rise for 4-5 hours at 75 degrees Fahrenheit until doubled in size.

Step 3: Once doubled, remove the dough from the bowl and place on a lightly floured surface.

Step 4: Divide the dough into 8 equal sections. You can weigh the dough and then divide by 8 to get the weight per dough ball if you want to be exact or you can just eyeball it.

Step 5: Gather the edges of the dough and bring them to the center, pinching them together to form a ball. Flip the dough seam-side down and roll it under your cupped hand to create a smooth, round shape. Cover the dough balls and let them rise for one more hour in a warm spot.

Step 6: Preheat the oven with a heavy duty baking stone at 475 degrees Fahrenheit for about 30 minutes. On a lightly floured surface, roll each dough ball into a 6-7” circle, about ¼” thick. If the dough springs back too quickly, let it rest for a few minutes to relax the gluten, then roll again.
Optional but helpful: place each rolled-out circle on a small square of parchment paper to make it easier to transport to the oven. Cover and let rest for about 10 minutes.

Step 7: Once the pan is really hot, bake 2 at a time for 2 minutes on one side and 1 minute on the other side. If you use parchment paper you can bake the pitas with the parchment paper.
Alternatively, you can lightly oil a pan or cast iron skillet on the stove and heat it over medium to high heat. Place a pita on the hot pan and let it bake for about 30 seconds until you see several bubbles on the surface. Flip and let bake for an additional minute. I have not had good success getting the pitas to puff with this method but will still create a delicious flatbread.
Sample Schedule
For this recipe, your sourdough starter needs to be active and bubbly. Be sure to give it enough time to double in size before mixing your sourdough pita dough for the best results.
Here is an example schedule for your timeline for baking. The timeline can depend on the temperature and the activity of your starter, so your time may vary. This schedule assumes the dough temperature is around 75 degrees Fahrenheit. If you have trouble keeping your dough warm at room temp, read about my best tips to keep your dough warm.
| Step | Time |
| Feed sourdough starter a 1:5:5 ratio and leave at about 70°F (20 grams starter: 90 grams flour: 90 grams water) | Night before: 9 pm |
| Mix dough together Bulk ferment/first rise | 9 am |
| Divide dough into balls and leave for second rise | 2 pm |
| Roll out the pita breads | 3 pm |
| Bake pita bread | 3:30 pm |
Preparing dough in advance
You can absolutely make the dough ahead of time! After the first rise, cover the bowl and refrigerate it for up to 24 hours for the best results. A cold ferment will enhance the tangy flavor. When you’re ready to make the pitas, simply remove the dough from the fridge and continue with the recipe, starting with dividing the dough into balls.

Recipe Tips
- After the pita has been rolled into flat circles place it on squares of parchment paper. This will make it much easier to transfer to the oven.
- Make sure the oven and baking sheet are very hot before putting the pitas on the pan or they won’t form a pocket.
- If the dough is very sticky add a little extra flour but note the dough will be tacky so don’t add too much flour or it will be dry. Using a stand mixer is ideal so you don’t have to worry about dough sticking to your hands.
- Using warm water when mixing the dough can help speed up the fermentation process. Placing the dough in the oven with the light on can help if your kitchen is especially cold.
Ideas to use the sourdough pita bread
- Serve the pita bread on the side of this Greek Chicken Quinoa Bowl with Homemade Tzatziki.
- Use the pita to make easy homemade gyros or stuff the pita pockets and make sandwiches with this Kofta-Seasoned Ground Beef Pita Sandwich recipe.
- Serve it on the side of homemade hummus or serve it with your favorite soup or salad.
Hungryroot
I paired the sourdough pita bread with a Rainbow Chicken Hummus Bowl from Hungryroot, a grocery delivery service that simplifies meal planning.They let you choose nutritious meals based on your preferences and send the recipes and ingredients right to your door. Every meal we tried was quick (under 30 minutes), packed with veggies, and full of flavor. And don’t skip the almond chickpea cookie dough—it’s a must-try! For a limited time, use code COUNTRYROADS40 to get 40% off your first delivery plus a free gift.

Storage instructions
To store the pita bread, add it to an airtight container and keep it on the counter for up to a few days.
Pita bread also freezes really well. To freeze, add to a freezer-safe container or bag with parchment paper in between each pita. You can freeze them for up to 3 months. To use, let them thaw on the counter or add to a 350-degree oven until warm.
FAQ
Using really high heat helps create steam in the middle of the pita, which creates the pocket. If your oven or pan isn’t hot enough, they will not puff as well. If you are using a pan on the stove, try the oven instead, it works much better. Try allowing your baking stone to heat up longer in the oven before baking and only bake 1-2 at a time.
Also let your pita breads rest for 10-15 minutes before putting them in the oven.
Using a baking steel or pizza stone will help create a really hot surface for the pita to cook on so that they puff up nicely. You can also use a cast iron pan in the oven. You can bake them on a very hot pan on your stove top but the results are varied.
Yes, if you do not have a stand mixer you can still make this recipe by kneading by hand. This dough is pretty sticky so it can be a little tricky to work with your hands because you may have issues with it sticking. You can add a little more flour if it is too sticky, but do not add too much because then the dough will be too dry. By the end of the 5 minutes the dough should be tacky but not overly sticky.
For best results, I prefer to use bread flour, but you can also successfully use all-purpose flour. Just keep in mind that all-purpose flour does not absorb liquid as well as bread flour, so you should reduce the water by about 25 grams.
More sourdough bread recipes
Same Day Sourdough Recipes
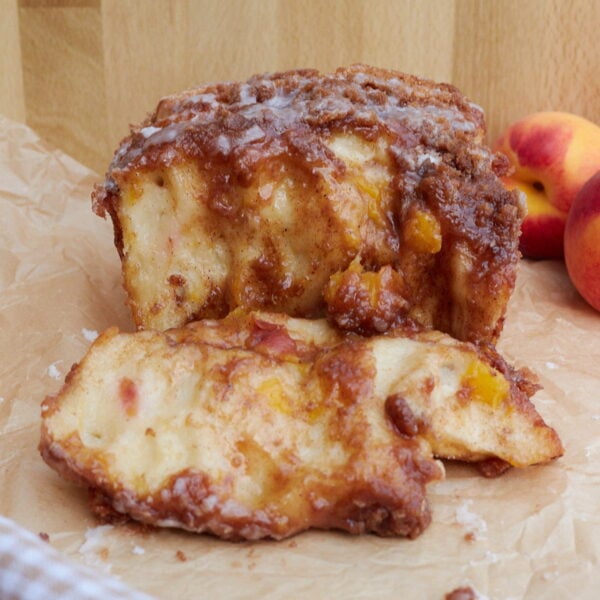
Sourdough Peach Pull-Apart Bread
Soft Sourdough Bread Recipes
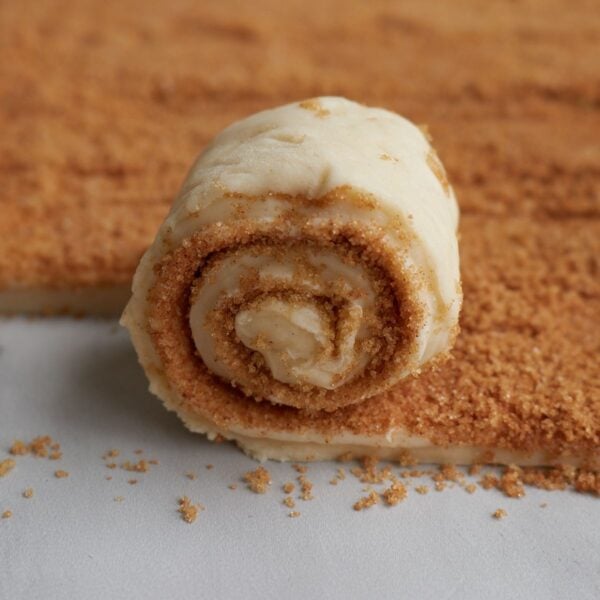
10+ Irresistible Sourdough Cinnamon Roll Variations You Need to Try
Soft Sourdough Bread Recipes
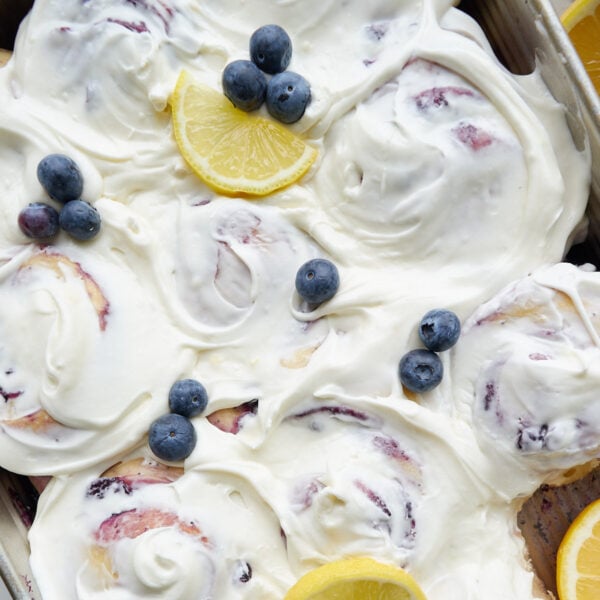
Lemon Blueberry Sourdough Rolls
Sourdough Discard Recipes
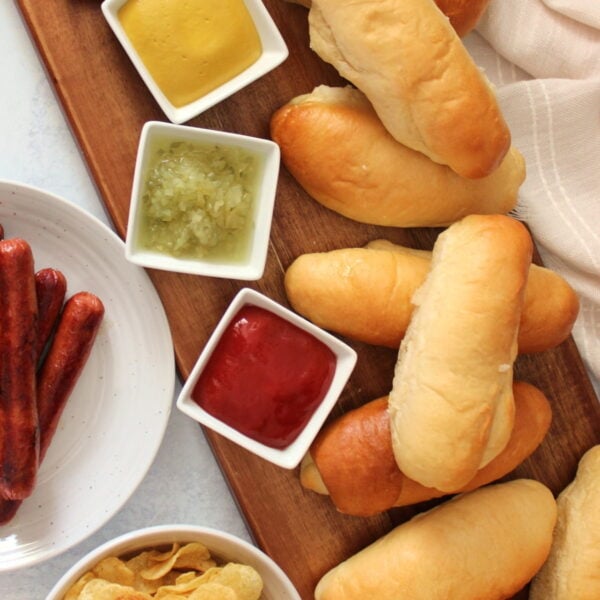
Quick Sourdough Discard Hot Dog Buns (one hour rise)
Tried this Sourdough Pita Bread or another recipe from the site? I’d love to hear about it! Drop a star rating and share your thoughts in the comments—can’t wait to see what you’re baking!

Sourdough Pita Bread
Ingredients
- 200 grams water, ¾ cup + 1 Tablespoon
- 180 grams active sourdough starter, ¾ cup
- 400 grams bread flour, 3 cups
- 30 grams olive oil, 2 Tablespoons
- 10 grams salt, 1 ½ teaspoon
Instructions
- Mix all the ingredients together and then knead in a stand mixer with a dough hook attachment on low speed or by hand for about 5 minutes until soft and smooth.200 grams water, 180 grams active sourdough starter, 400 grams bread flour, 30 grams olive oil, 10 grams salt
- Cover the bowl and let rise for 4-5 hours at 75℉ until doubled in size.
- Divide the dough into 8 equal sections. You can weigh the dough and then divide by 8 to get the weight per dough ball if you want to be exact or you can just eyeball it.
- Gather the edges of the dough and bring them to the center, pinching them together to form a ball. Flip the dough seam-side down and roll it under your cupped hand to create a smooth, round shape.
- Cover the dough balls and let them rise for one more hour in a warm spot.
- Preheat the oven to 475℉ with a heavy-duty baking stone, pizza stone, or cast iron skillet. Let the pan preheat for about 30 minutes to ensure it is hot. Be sure to check the heat tolerance of your pan before using it.
- On a lightly floured surface, roll each dough ball into a 6-7” circle, about ¼” thick. If the dough springs back too quickly, let it rest for a few minutes to relax the gluten, then roll again. Optional but helpful: place each rolled-out circle on a small square of parchment paper.
- Cover the pitas and let them rest for 10-15 minutes before baking. This step can be skipped but the pitas will puff up better if they are left to rest.
- Bake 1-2 at a time for 2 minutes on one side and then flip them over with tongs and bake for 1 more minute on the other side. If you use parchment paper you can bake the pitas with the parchment paper.
- Remove from the oven and wrap in a towel to keep them warm. The pita breads will deflate but the pocket will remain.
Notes
- Kneading by hand- The dough will be very sticky at first but once it has been kneaded for a few minutes it should become less sticky, although it will still be slightly sticky/tacky. Resist the urge to add a lot of extra flour at the beginning as it will make the pitas dry. A stand mixer is the easiest way.
- Parchment paper- Cut 8, 8″ squares of parchment paper and place each pita after it is flattened on a piece. This will make it much easier to transfer the dough to the oven. You can bake the pitas with the parchment paper underneath.
- Hot pan is critical- Make sure the oven and baking sheet are very hot before putting the pitas on the pan or they won’t puff up to create the pocket.
- Prep dough in advance-After the first rise, cover the bowl and refrigerate it for up to 24 hours for the best results. A cold ferment will enhance the tangy flavor.
- Baking on stovetop– I have not had success getting a pocket with this option but still makes delicious flatbread. Lightly oil a pan or cast iron skillet on the stove and heat it over medium to high heat. Place a pita on the hot pan and let it bake for about 30 seconds until you see several bubbles on the surface. Flip and let bake for an additional minute.
- Storage instructions- To store the pita bread, add it to an airtight container and keep it on the counter for up to a few days.
- Freezing the pitas- Add the pitas to a freezer-safe container with parchment paper in between each pita and freeze for up to 3 months. To use, let them thaw on the counter or add to a 350℉ oven until warm.
Nutrition
Nutrition information is automatically calculated, so should only be used as an approximation.

Hi; enjoy your sourdough posts! When I didn’t have my oven stone, I turned my cast iron skillet upside down & cooked on the bottom. Worked well.
Thanks Connie!
Question – When you say cover your dough, what do you cover it with? A tea towel or shower cap?
I don’t like to use tea towels because it dries out the dough so I stick to something that will keep the moisture in. Shower caps, a plate over the bowl, foil, seran wrap are all good options. I have reusable covers from wildclementine.co that I use to cover my dough.
These were great, easy directions, worked beautifully! Thanks so much.
Thanks so much, Debi!
I kneaded by hand, it was very sticky! But I resisted adding flour and right about the 5min mark, the dough became much more smooth. Yay! I used unbleached all-purpose flour.
That’s awesome! I’m proud of you for holding off on adding more flour. It’s tempting to add more but often times it just needs kneading.
5 star excellent recipe. Easy and delicious. I used 100 gms of whole wheat flour and 300 gms of white flour. A new favourite for our household.
Easy and delicious! I used 100 gms of whole wheat flour and 300 gms of white flour. A new favourite recipe!
Thanks Joanne! Glad you enjoyed the recipe.
I lov your recipes and would like to be able to print out the time table with the recipe. Is there a way to do this?
That might be something I need to look at adding into the recipe so it can be printed with it. For now you could copy the time table into a word document to print. Sorry!
Thanks very much, your time table really helps
I followed recipe exactly as written, using starter that was at peak or just past from my refrigerator. For future reference, an eighth of this recipe came to 103-104g. The pockets turned out in each pita. Thank you for sharing this recipe!
Thanks Lauren! I’m so glad you liked the pitas.
Could this be made with discard vs active starter? Maybe with the addition of some dry yeast? I’d love to hear your thoughts. Thank you for the many wonderful recipes and information
Yes you could use the same amount of discard in place of active starter and then I’d probably do a packet of yeast (2 1/4 teaspoons)
I’ve made these pitas twice now, and we LOVE them! The kids love watching them puff in the oven. They are delicious! Wonderful recipe, thank you!